Tutorial
Deploy Your Trading Strategy in 8 Easy Steps
This guide will help you deploy your backtested trading strategy live with Alpaca and Google Cloud. We’ll walk you through each step, making sure everything is simple and clear.
1. Create an Alpaca Account
We use Alpaca for commission-free trade execution with a well-maintained Python API.
- Sign up for a free account here.
- Log in and go to the Paper Trading dashboard.
- Allocate simulated funds (e.g., $100,000) for testing. You can have up to 3 free paper trading accounts.
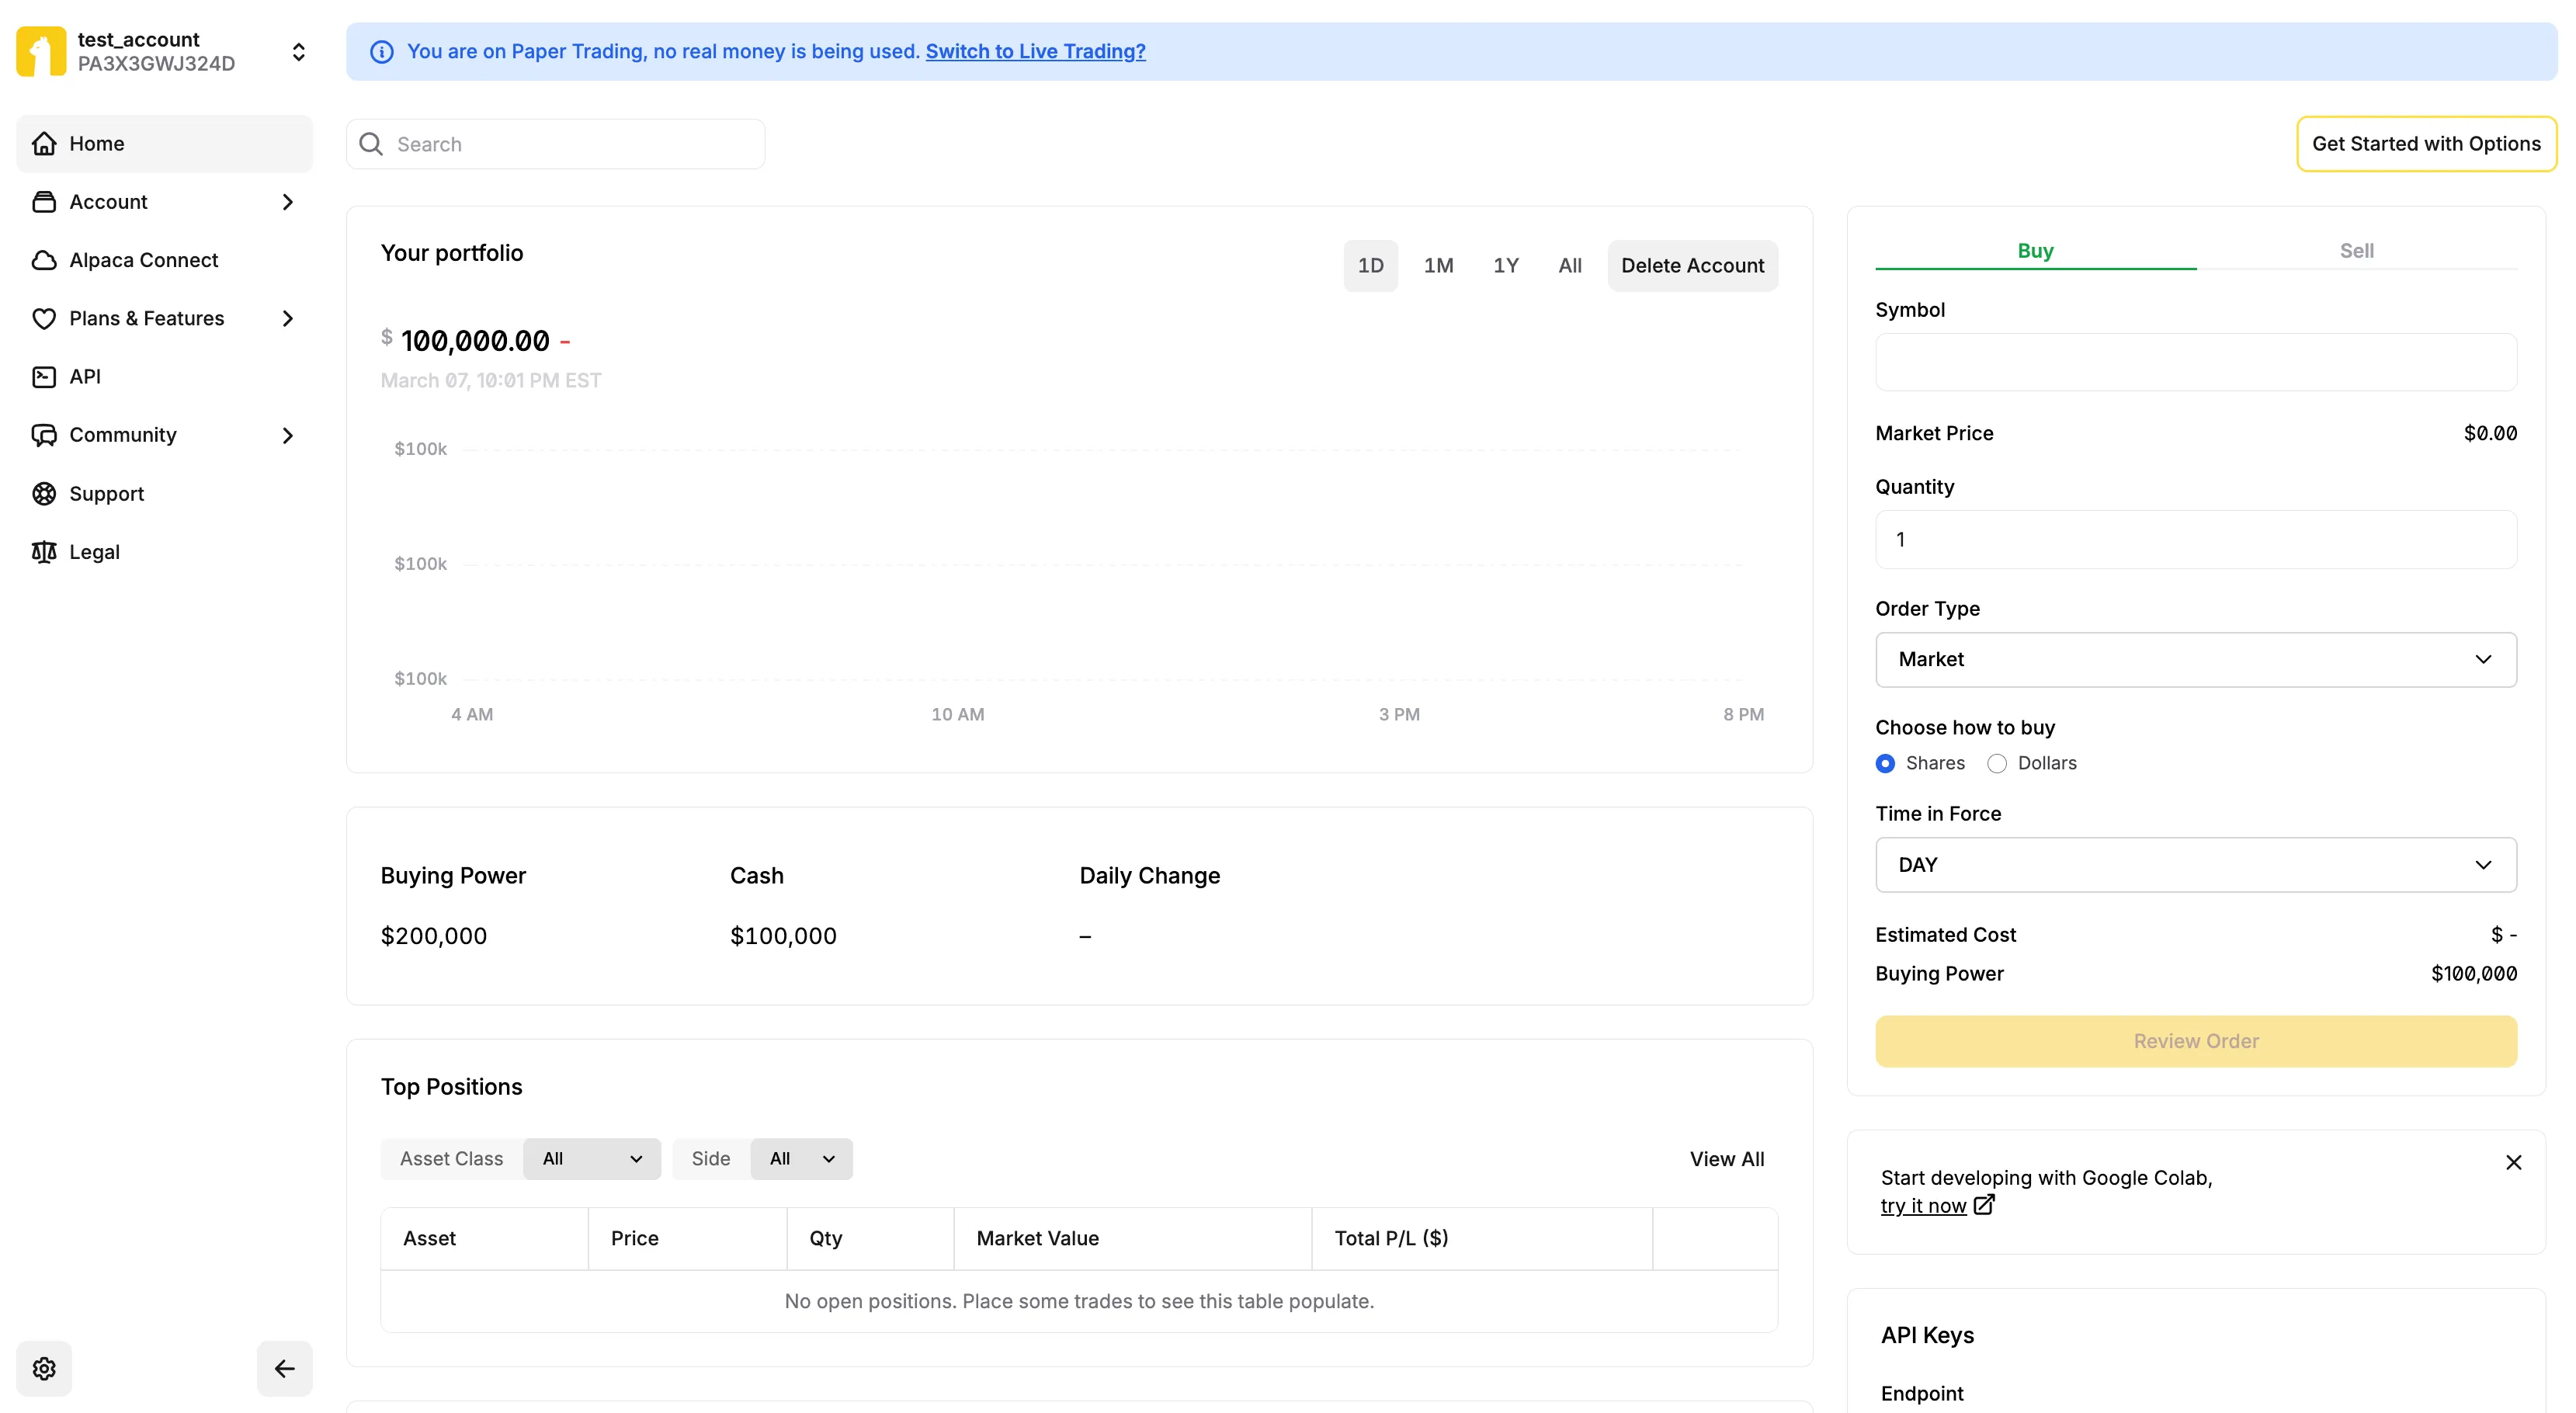
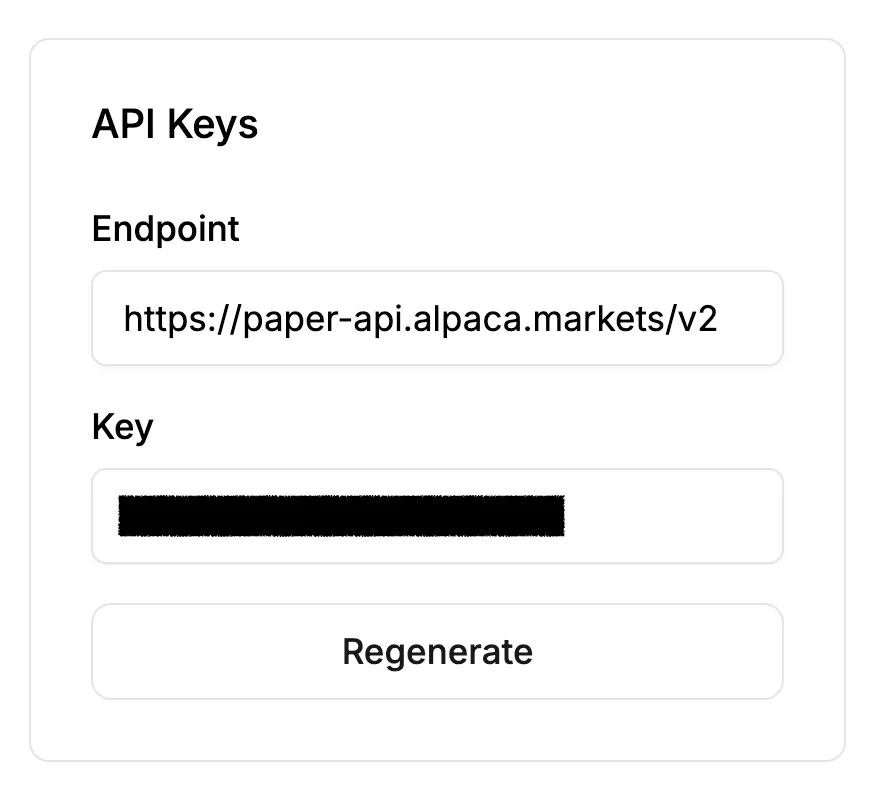
- Generate/Regenerate your API Key and Secret Key.
2. Generate Code for Deployment
Once your strategy is backtested, you can generate the deployment code.
- Go to the strategy’s page on uBacktest.com.
- Scroll to the Deployment section.
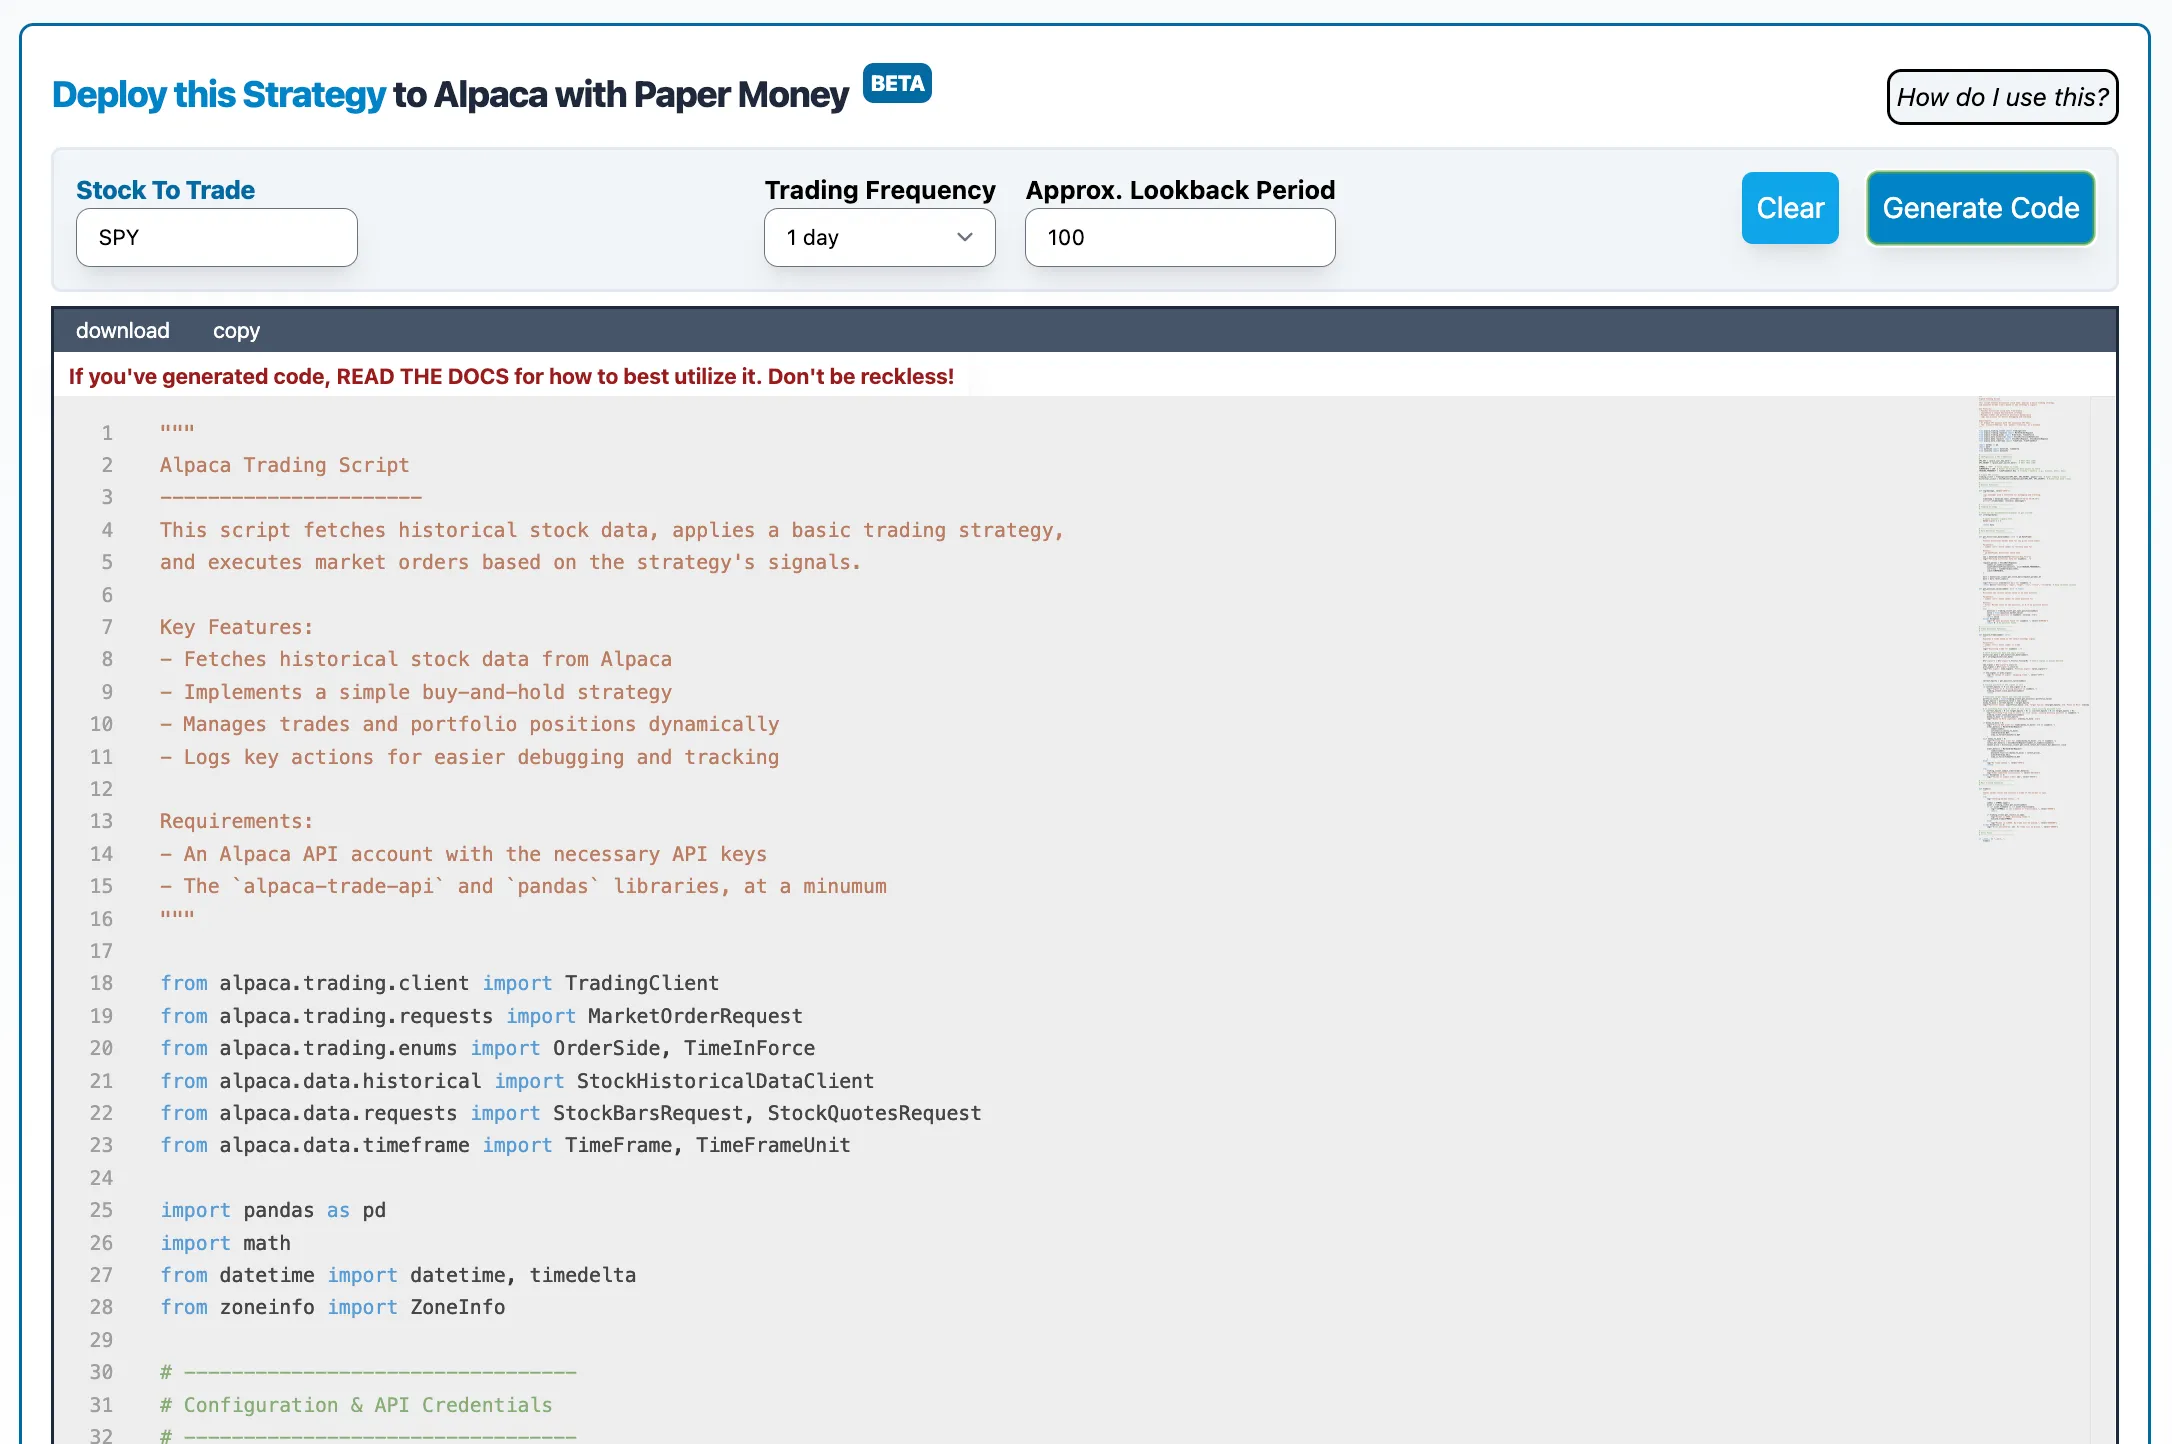
- Fill in the required fields to match your backtest. Make a mental note of your trading frequency, as we will schedule the script to run at this interval later.
- Click Generate Code—your strategy code will appear in the editor! You will also need this code later.
3. Create a Google Cloud Account
Create a Google Cloud account or log in with your existing Google account.
- Go to Google Cloud and log in.
- Access the Console:
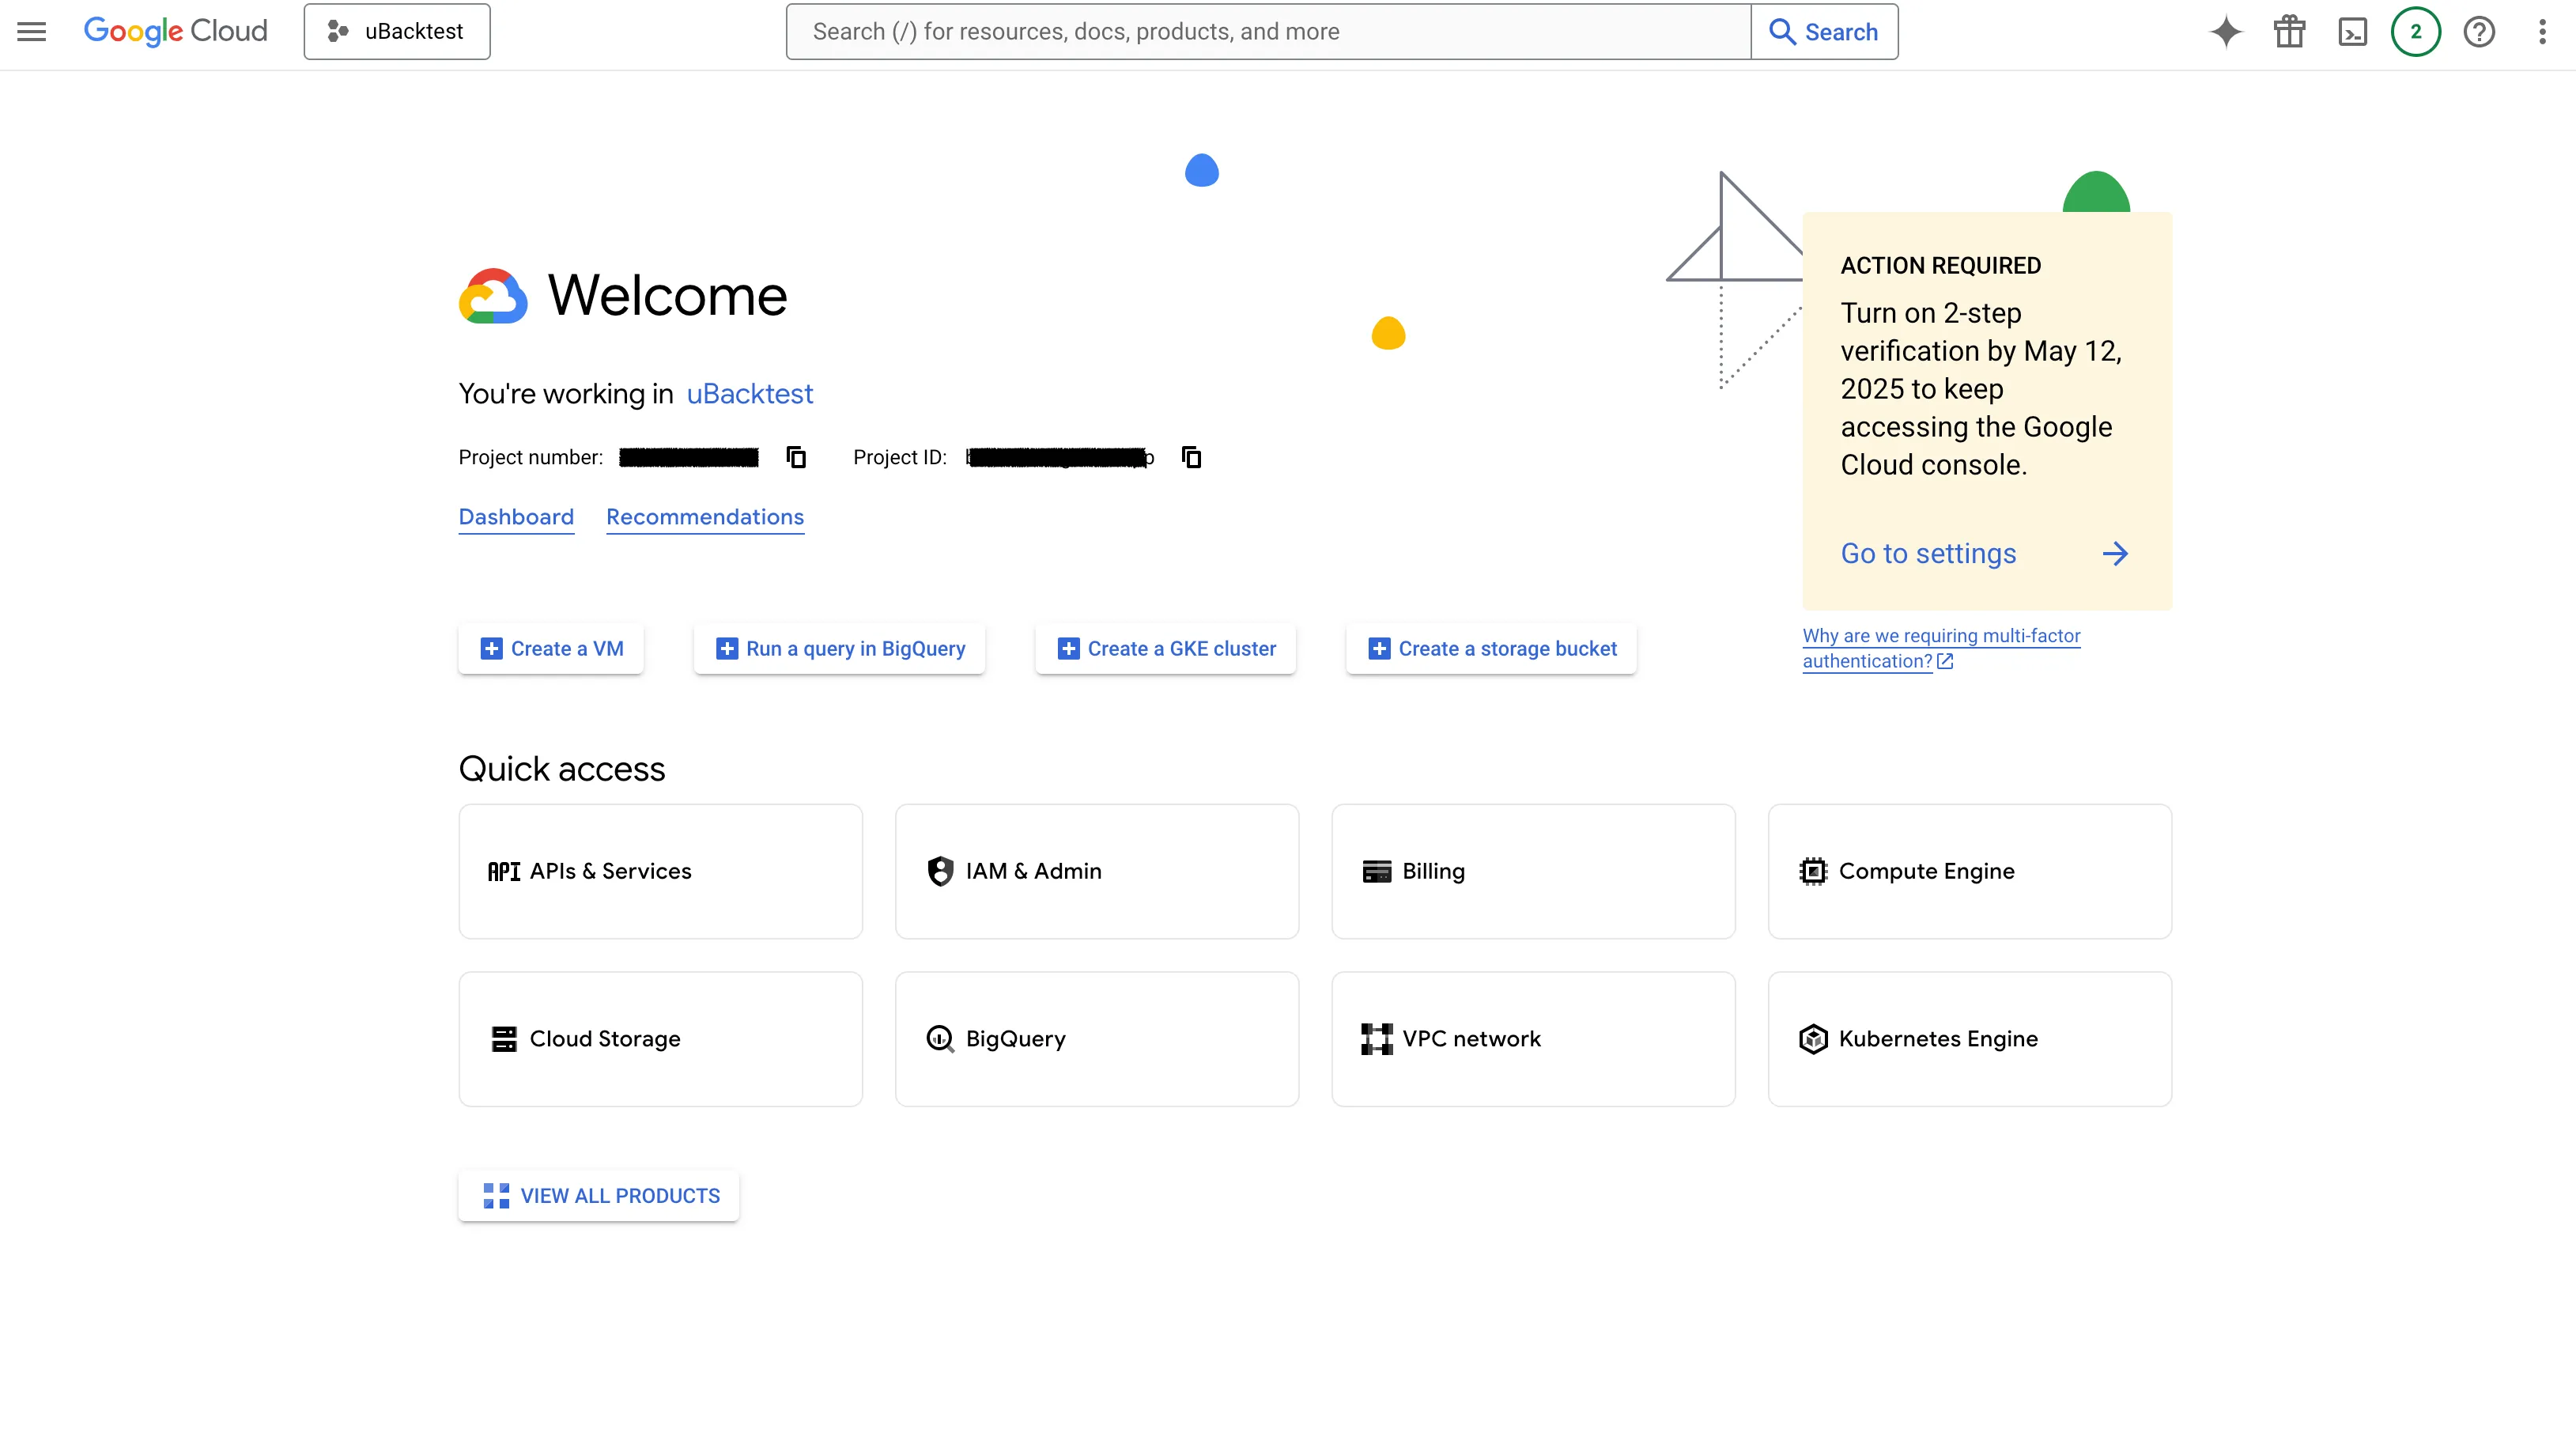
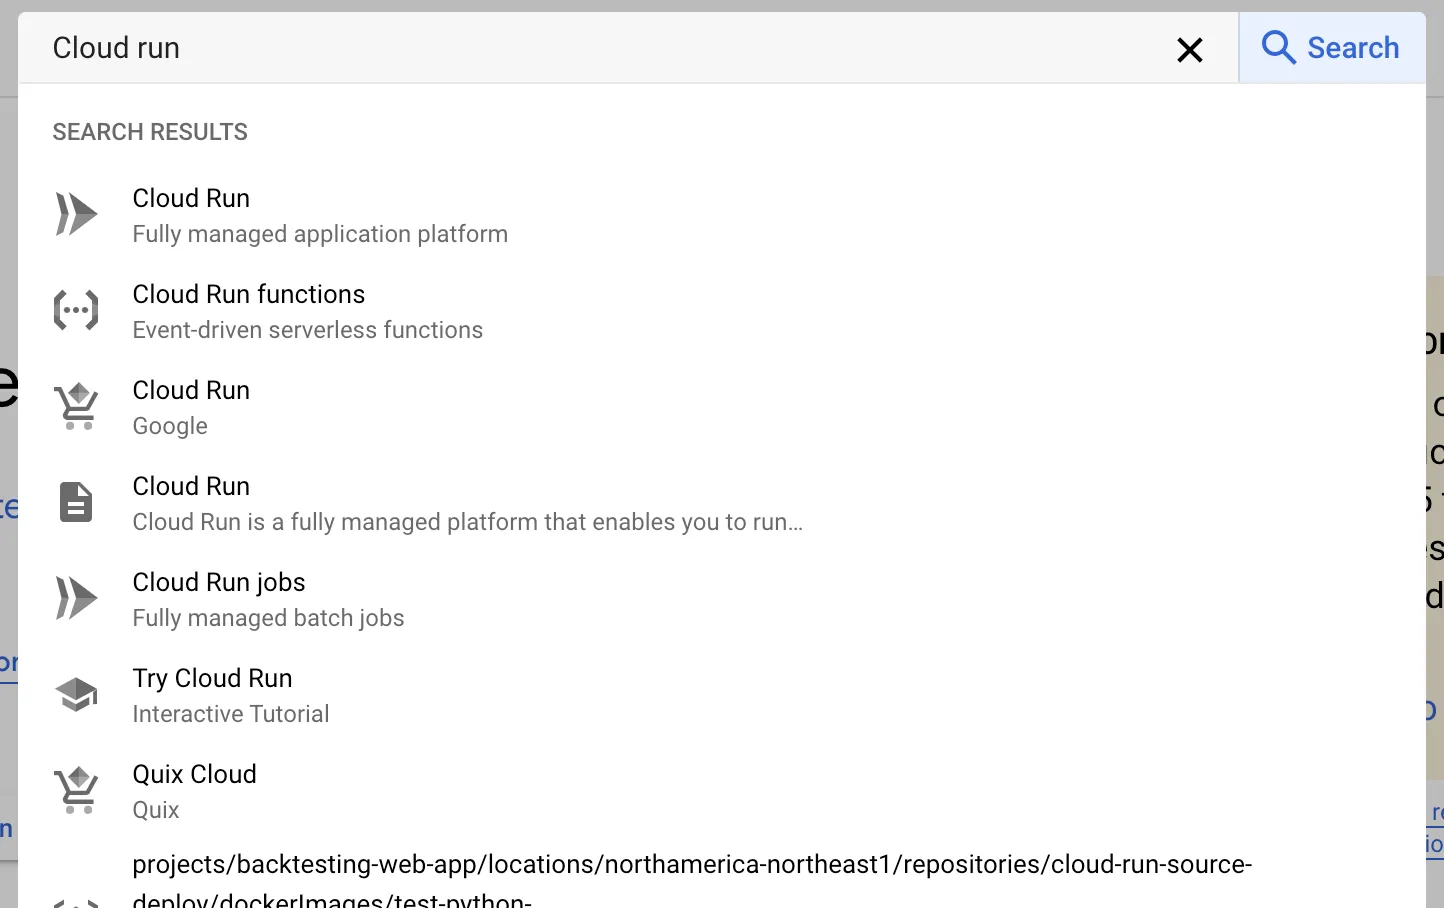
- Search for Cloud Run and select Cloud Run functions:
4. Create a Cloud Function
In Google Cloud, you’ll create a function to run your trading strategy.
- Click on WRITE A FUNCTION.

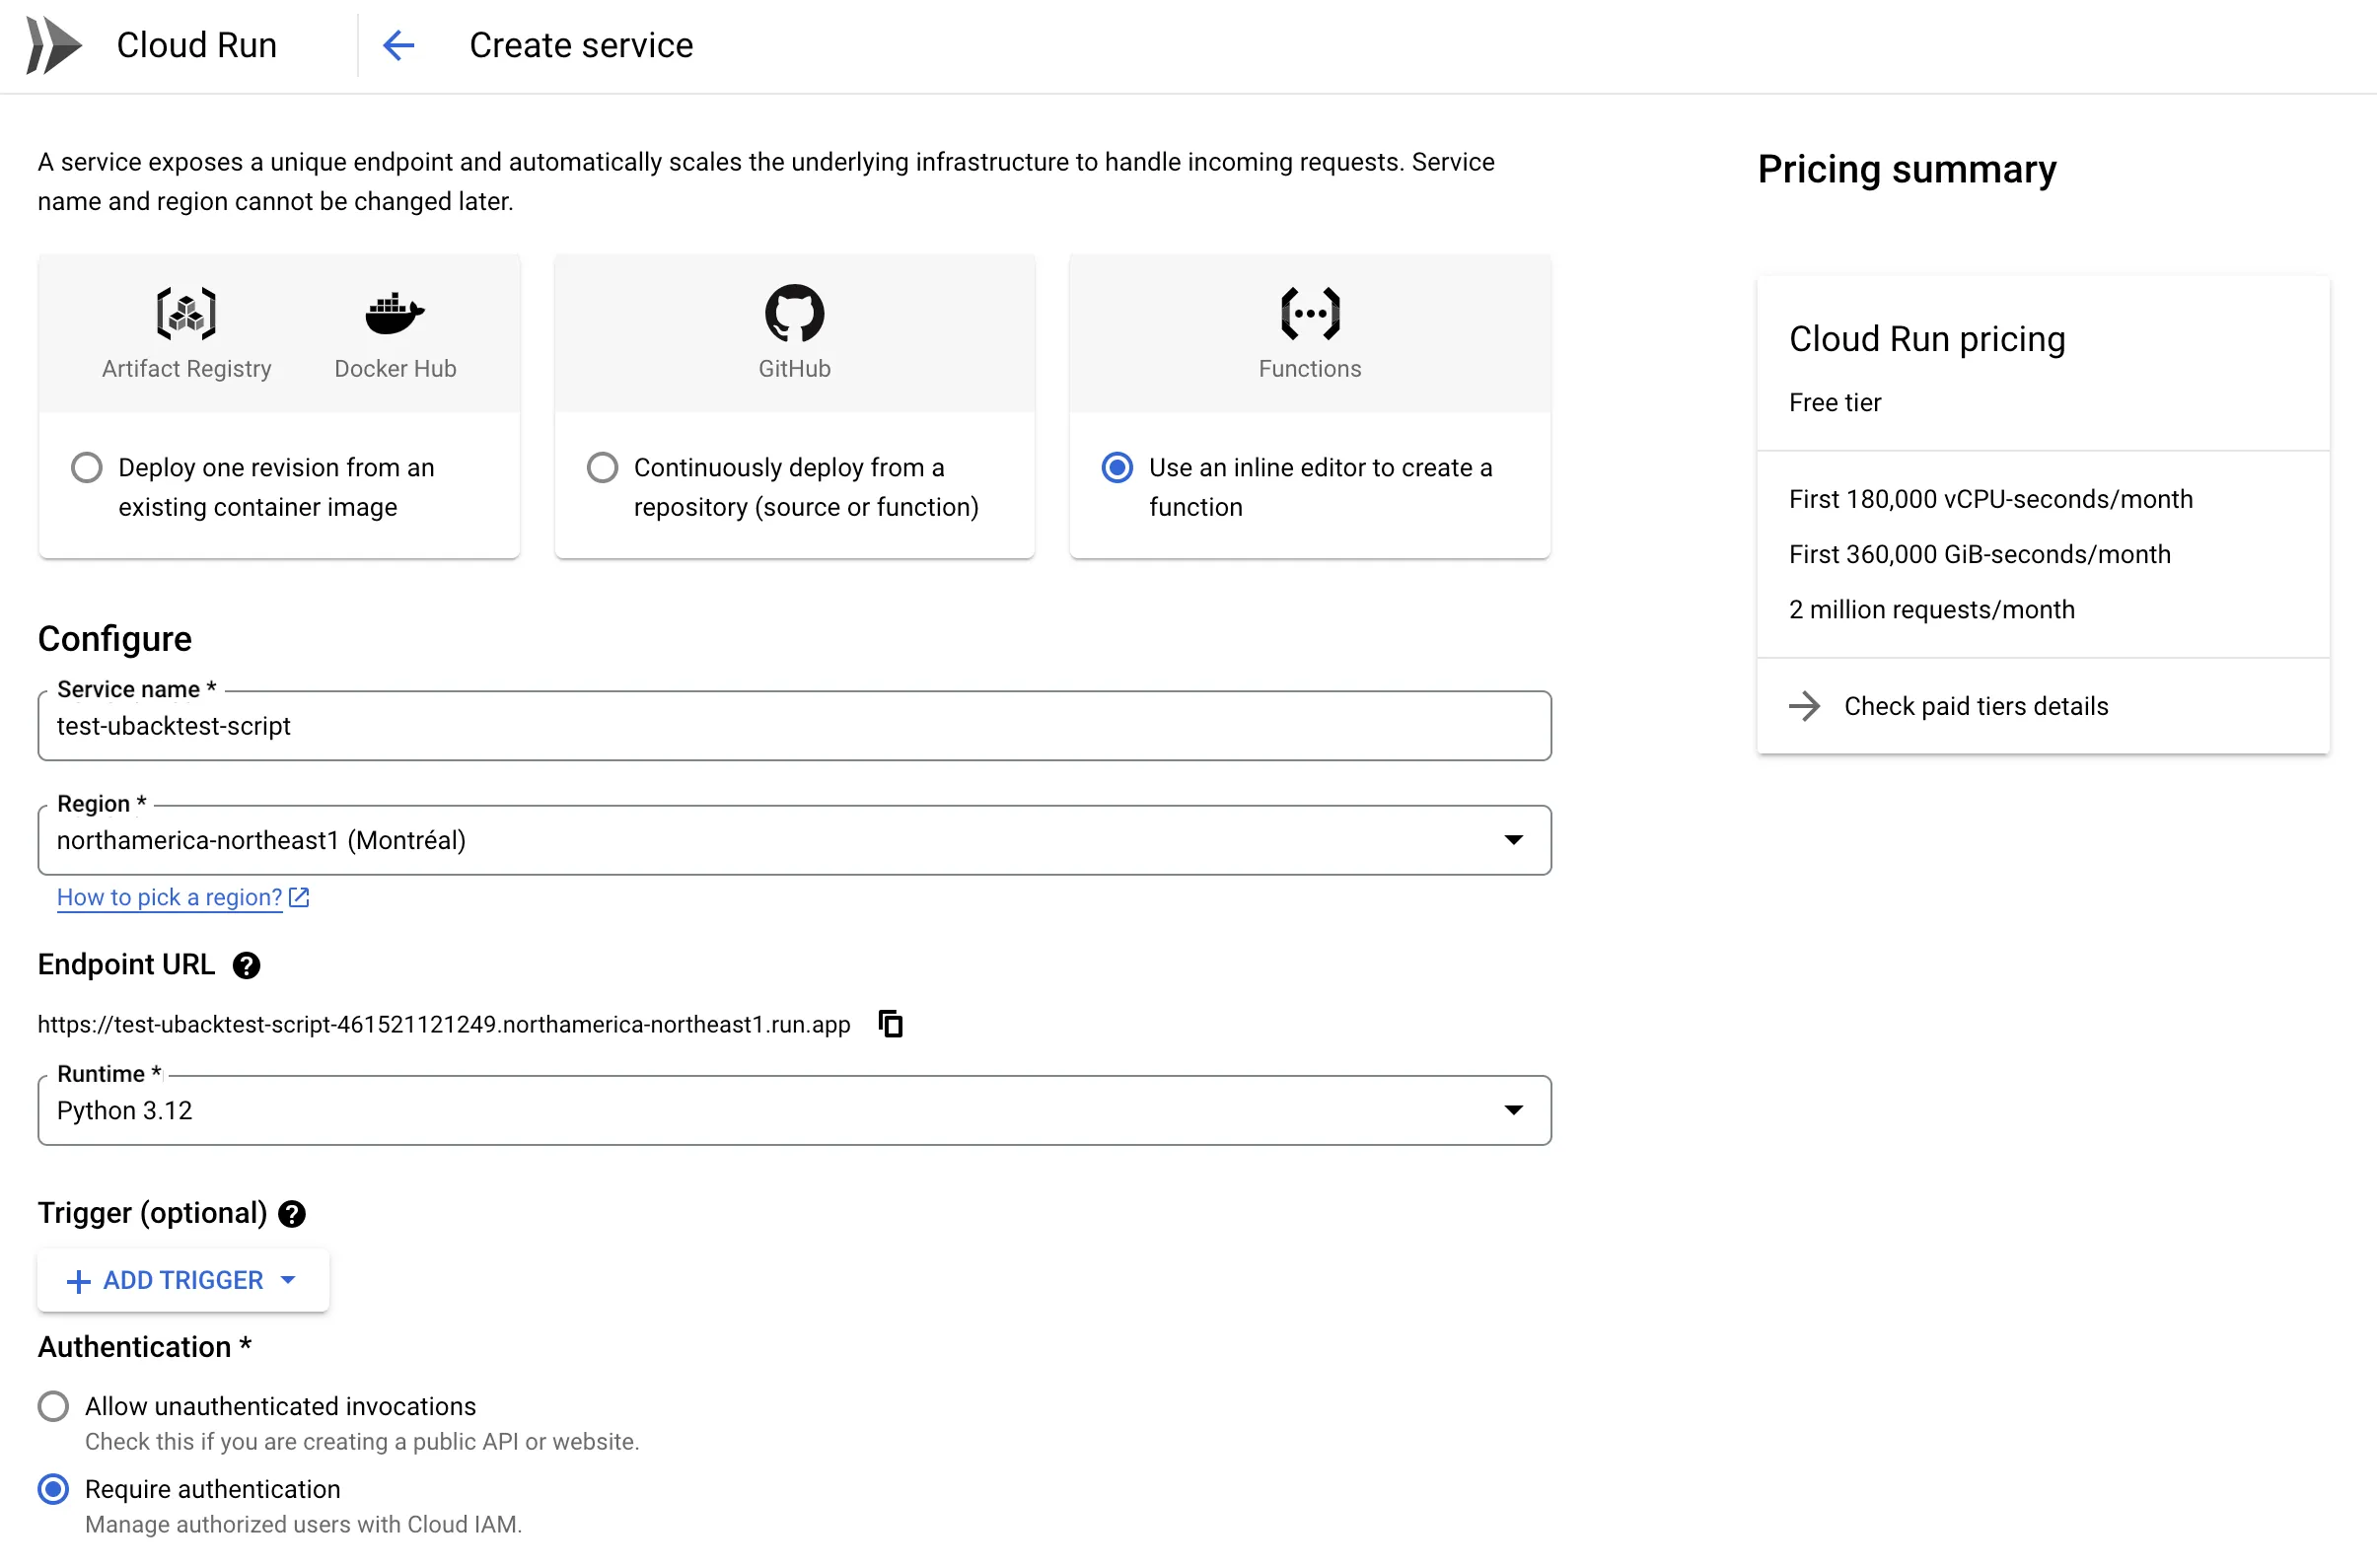
- Name the function (e.g.,
test-ubacktest-script). - Select a Region somewhat near you.
- Select Python 3.12 for the runtime.
- Set Authentication to Require Authentication (optional but recommended).
- Click Create to set up the function.
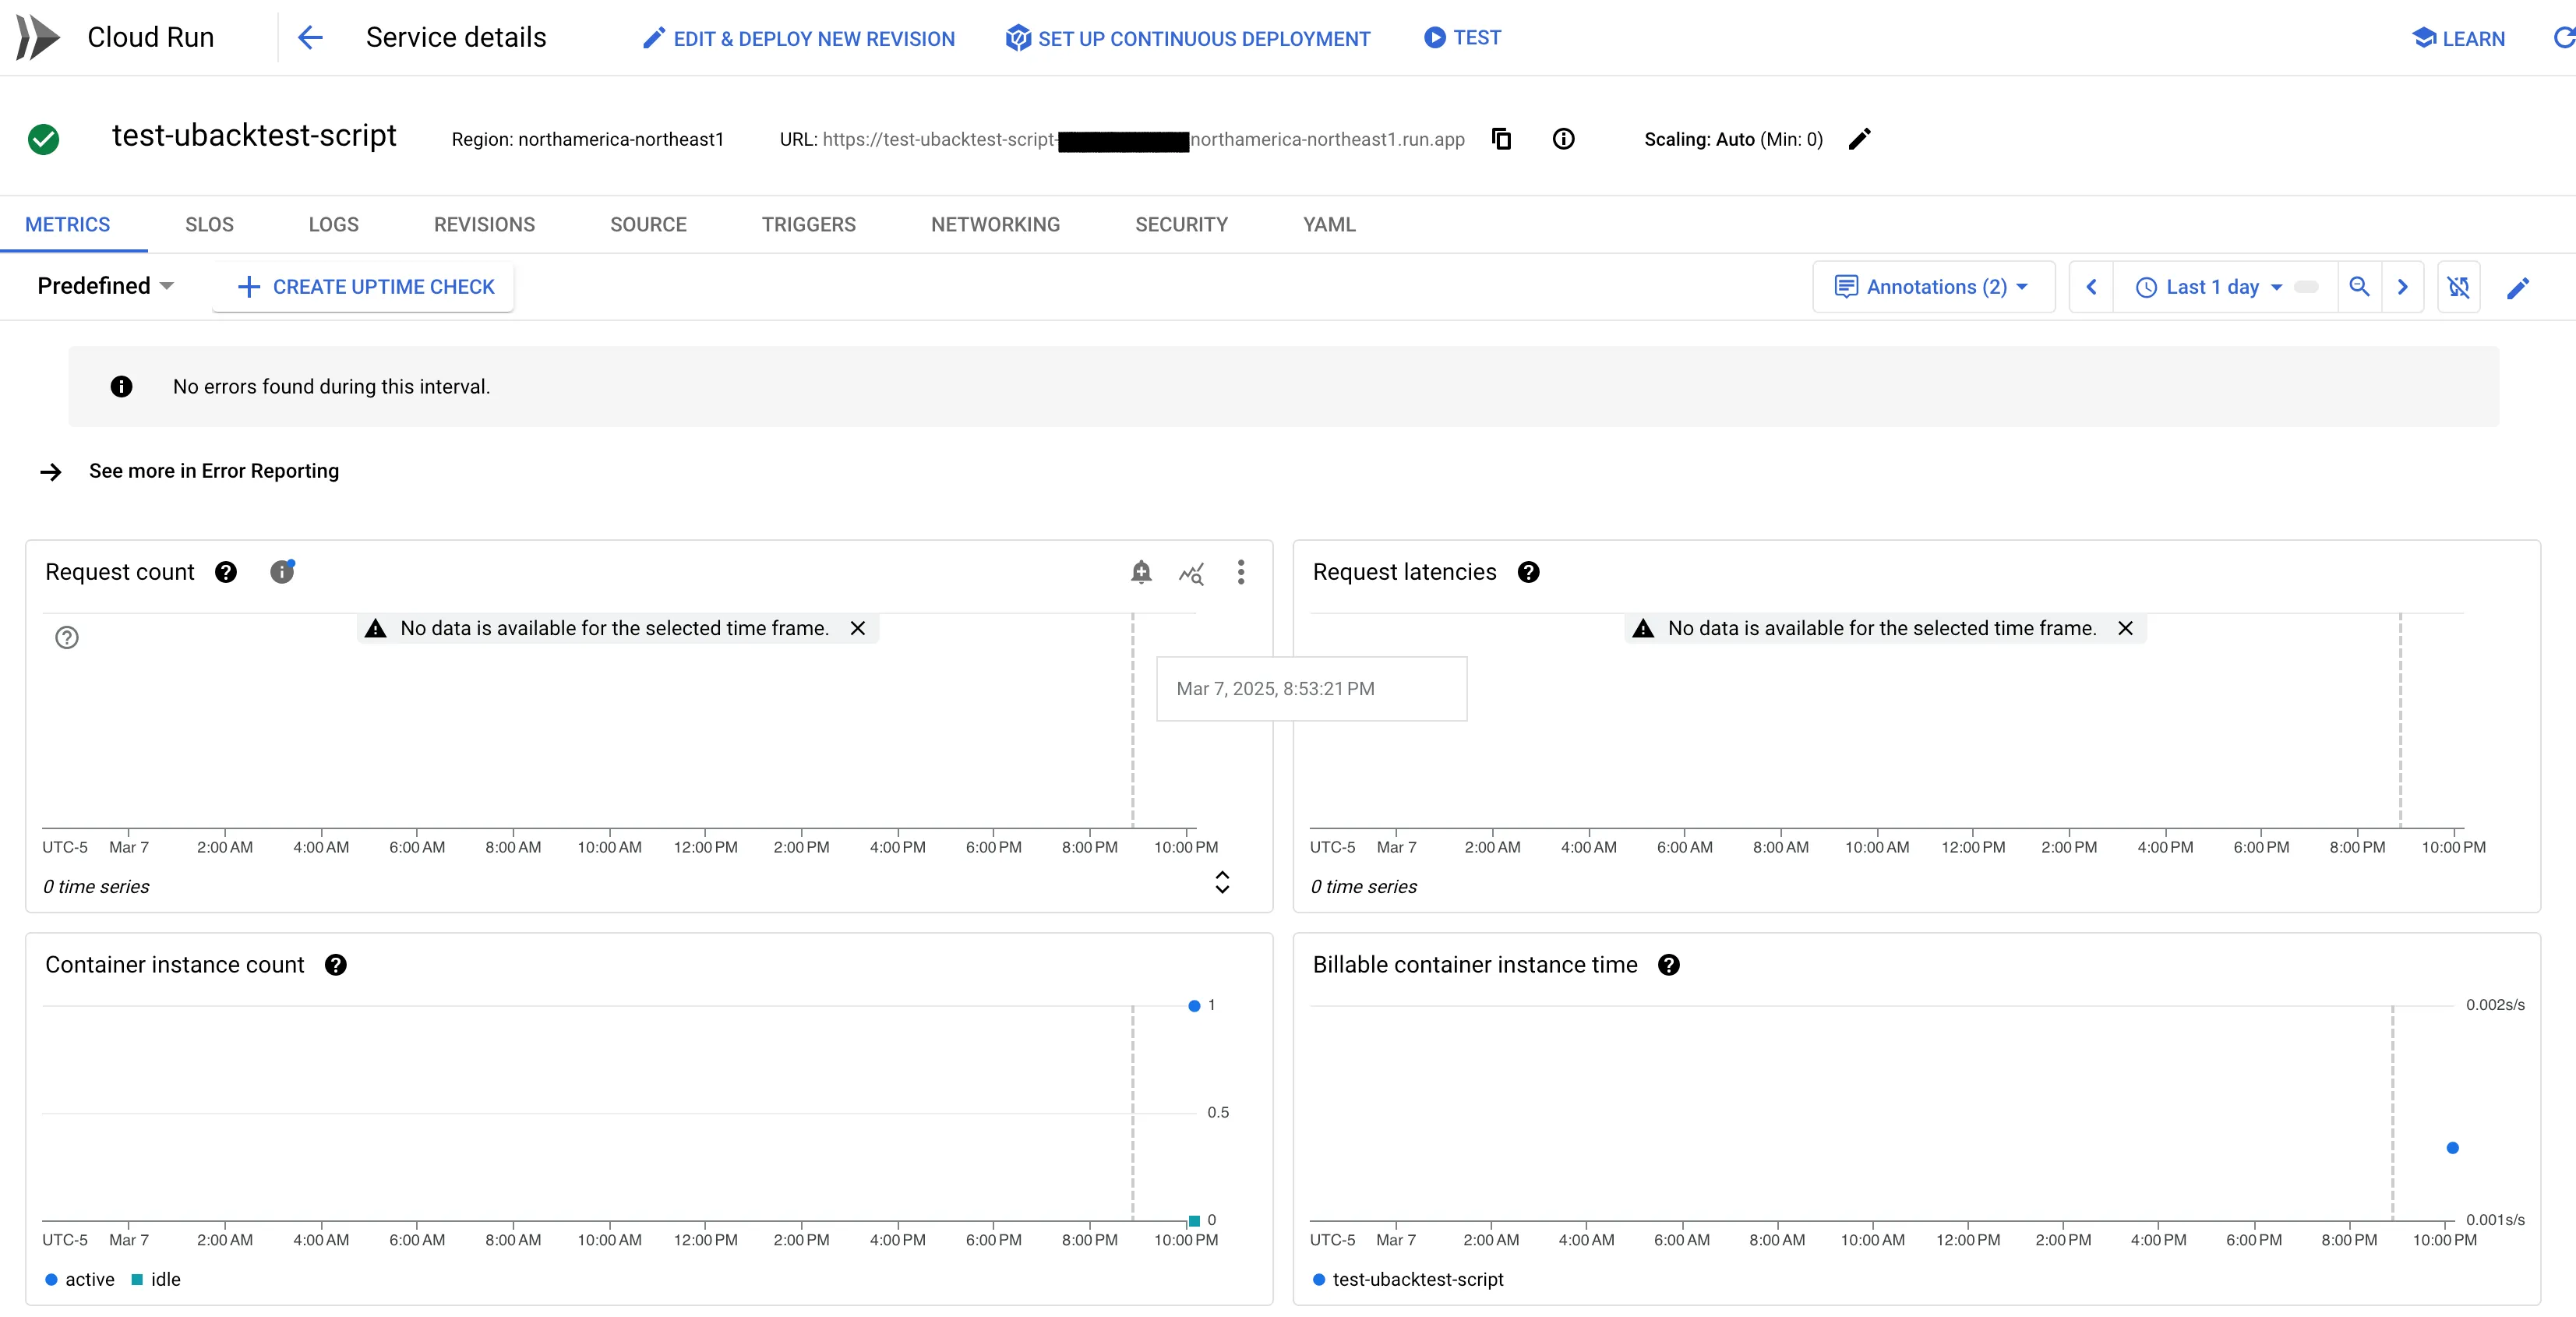
here’s what this may look like:
5. Insert Your Generated Code
After you’ve created the function, it is time to make it your own!
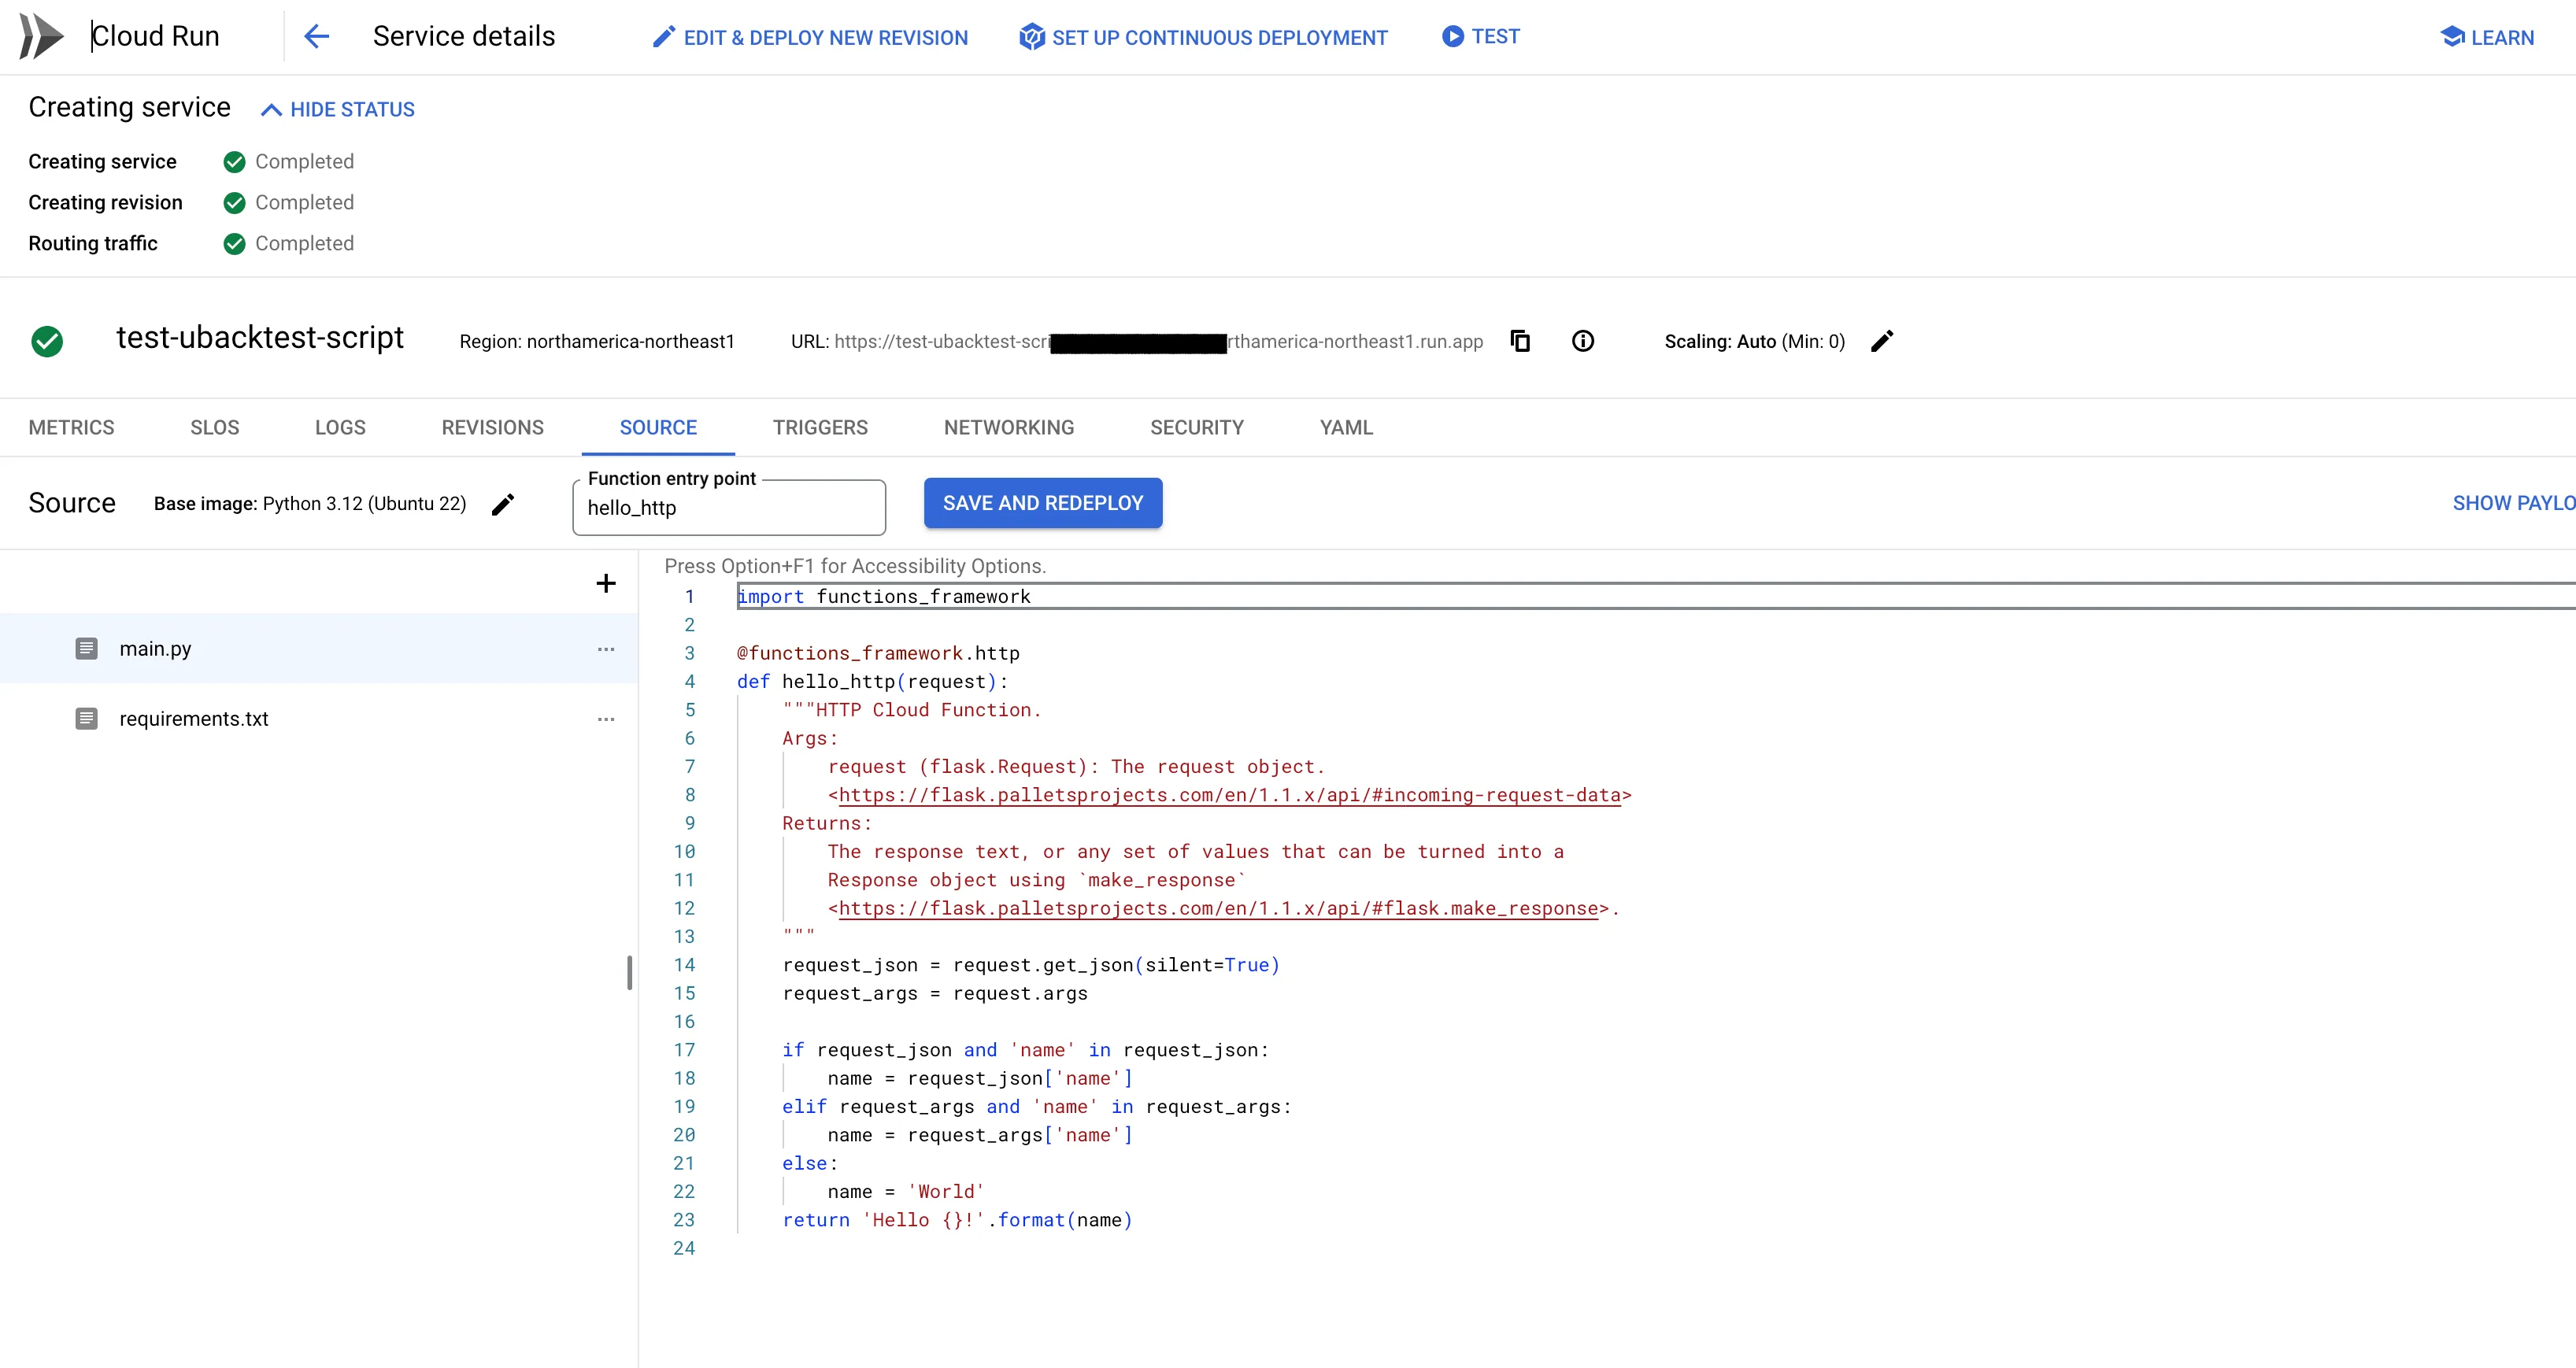
- Go to the Source Code section. For now, you will see some introductory/placeholder code like this:
- Delete this filler code. Paste your generated strategy code:
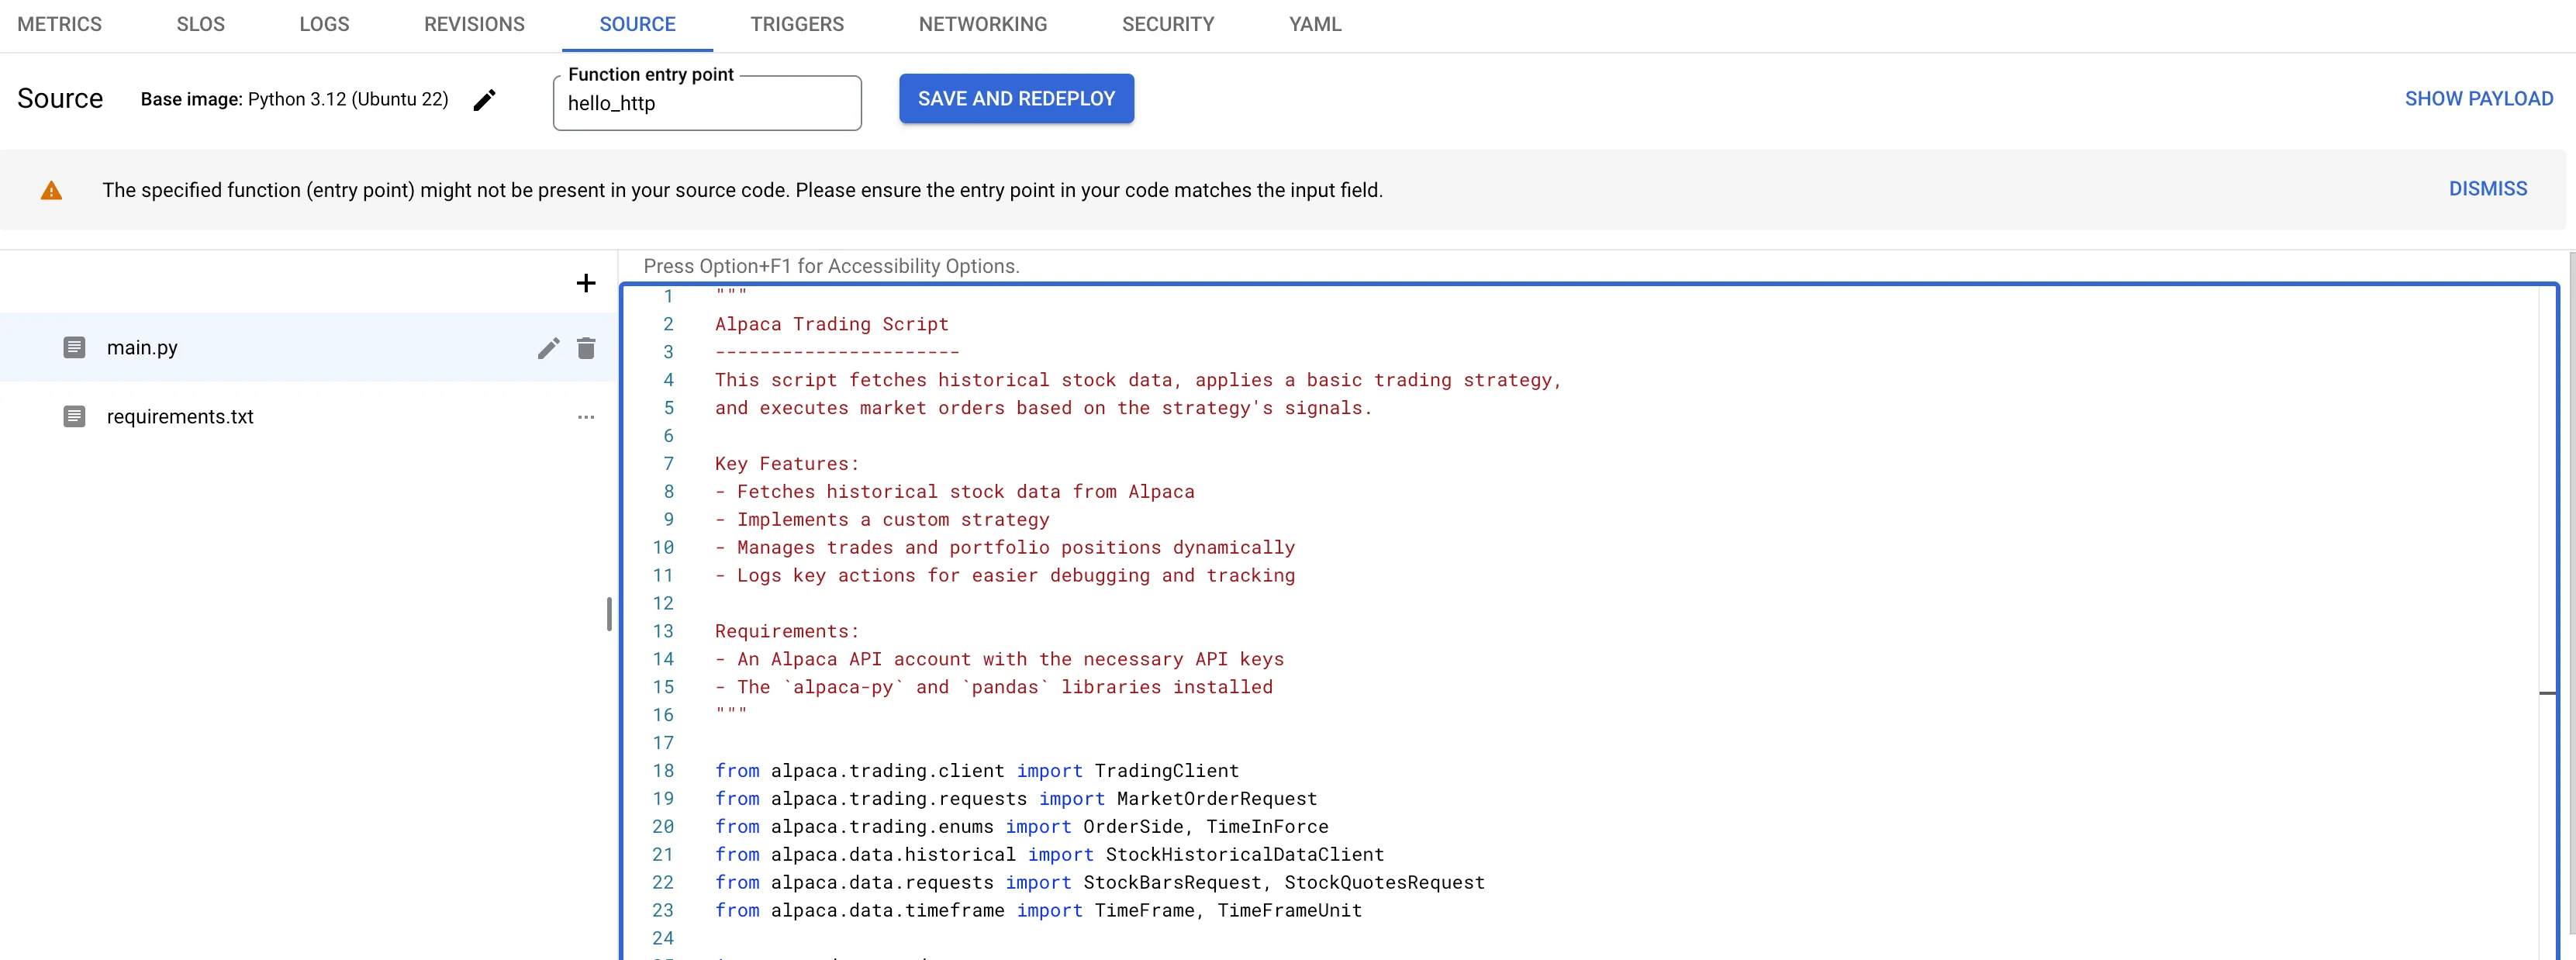
-
In the requirements.txt file, add all your dependencies:
- functions-framework
- pandas
- alpaca-py
- numpy
- (& other required libraries)

- After adding the code and dependencies, click SAVE AND REDEPLOY. It may take a little while, but your strategy should have a little green check, indicating success!
6. Set Environment Variables
Your strategy will need to use your Alpaca API Keys. Let’s set these up securely.
- Click Edit & Deploy New Revision. See the previous image; this button is found at the top of your function’s home page.
- Scroll down and select Variables & Secrets.
- Paste your API_KEY and API_SECRET as environment variables.
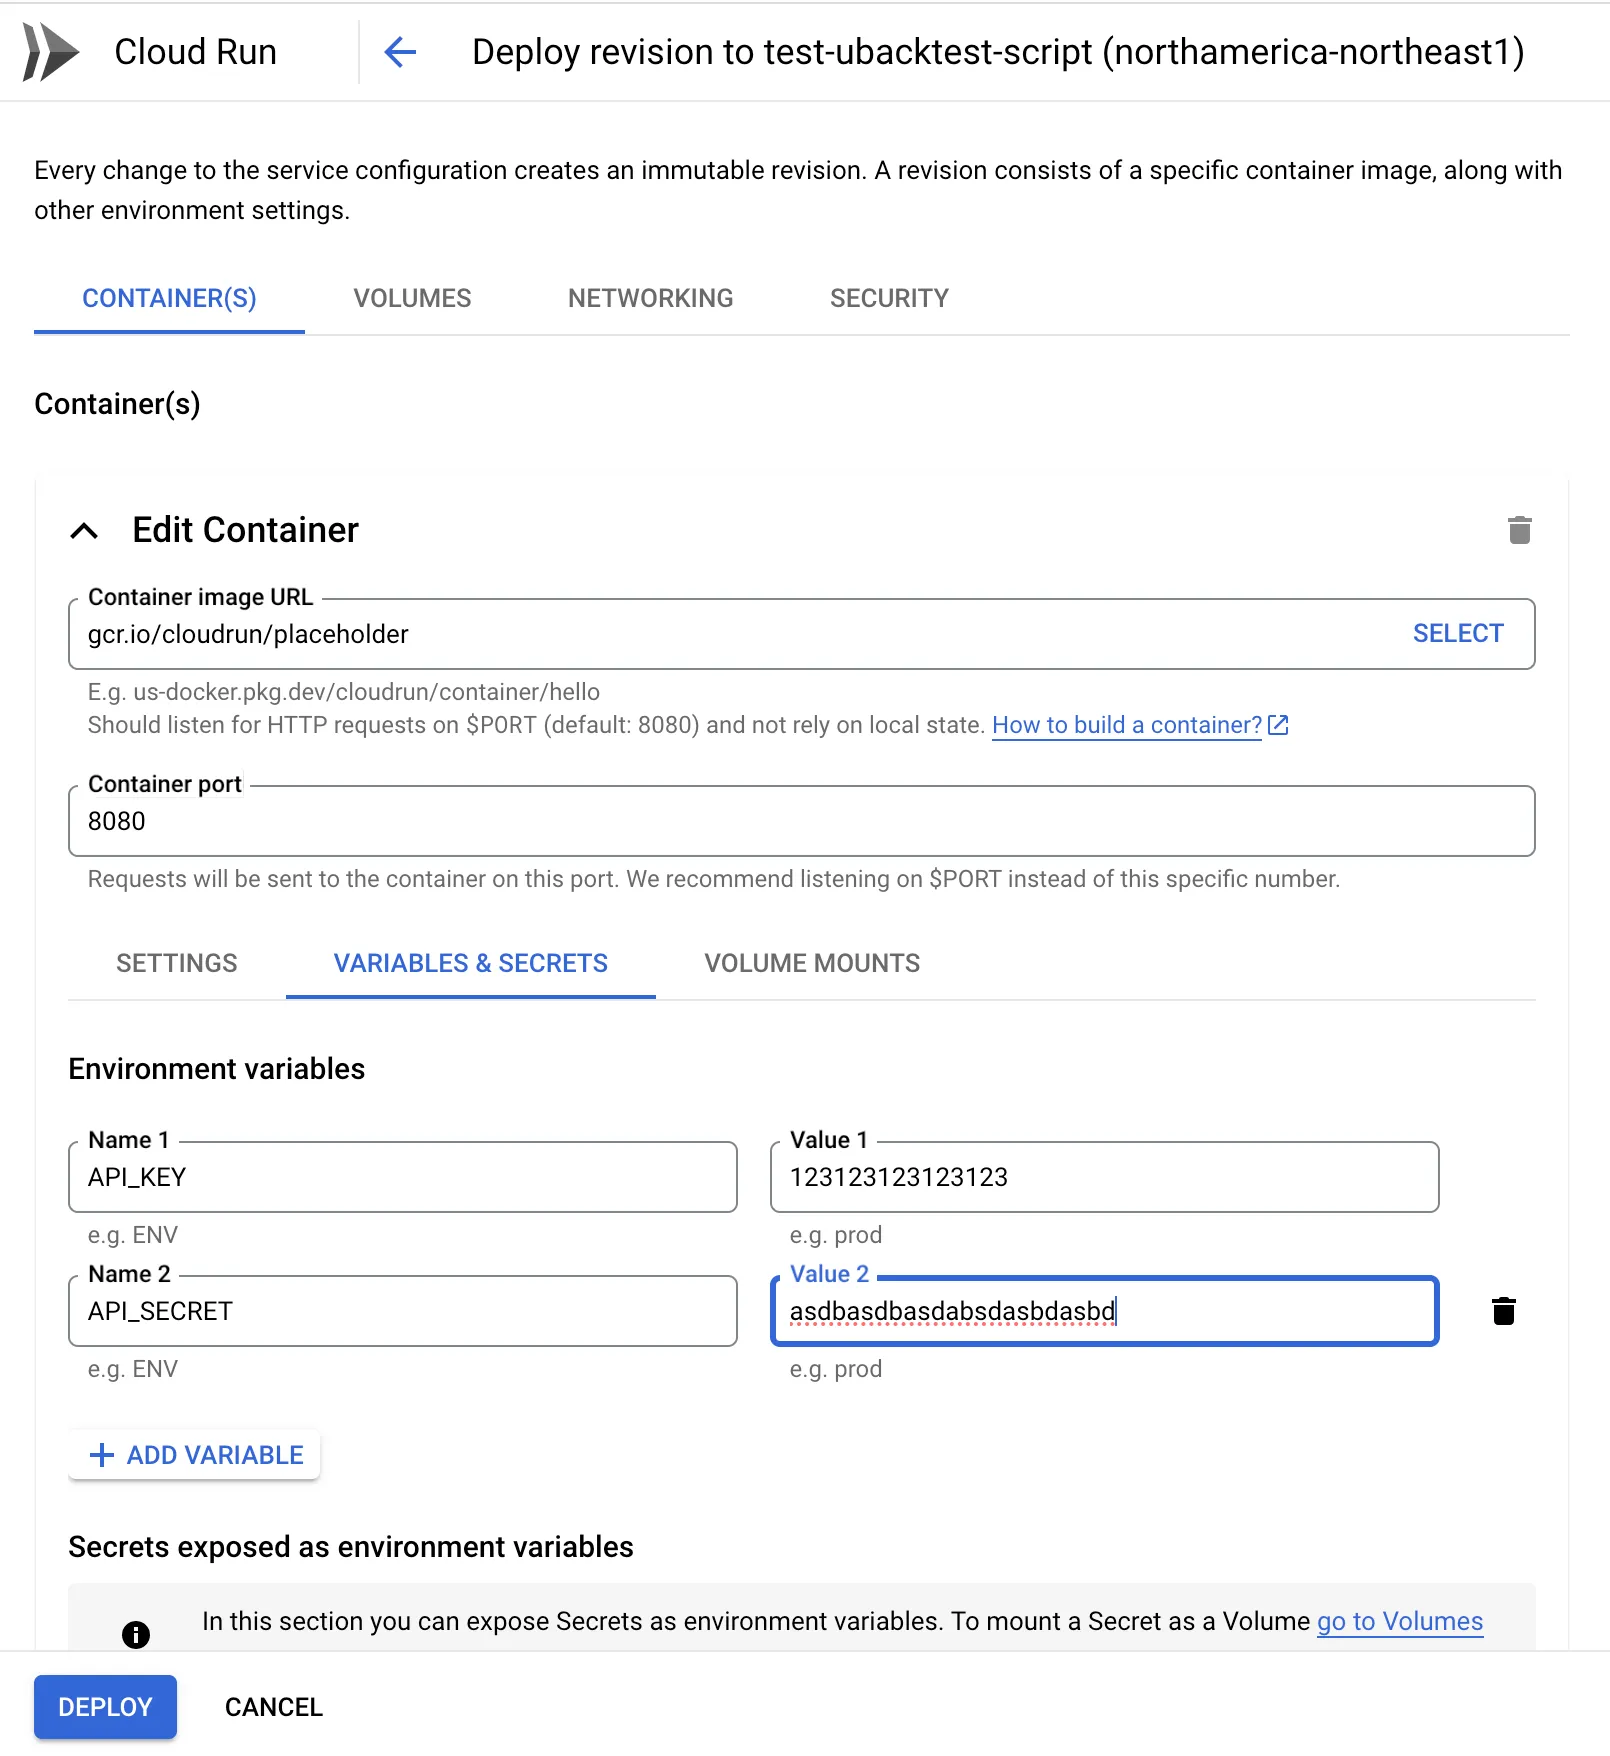
- Click Deploy.
7. Restrict Access to Your Script
By default, anyone can execute your endpoint.
If you’re using paper trading, you can skip this step. However, it’s strongly recommended (and often required) to restrict access to your script.
To do this, you’ll grant Cloud Run Invoker privileges to yourself.
- Open the Service Accounts Page
Search for “Service Accounts” in the search bar:
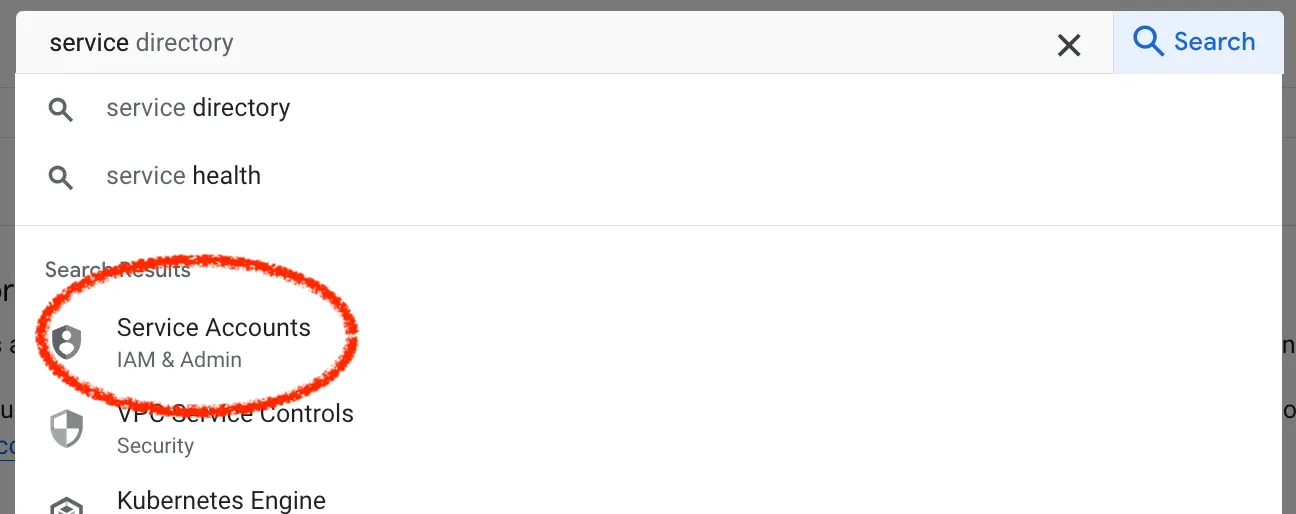
- Create a New Service Account
Click “Create Service Account”:

- Name Your Service Account
Give it a name likecloud-run-invoker:
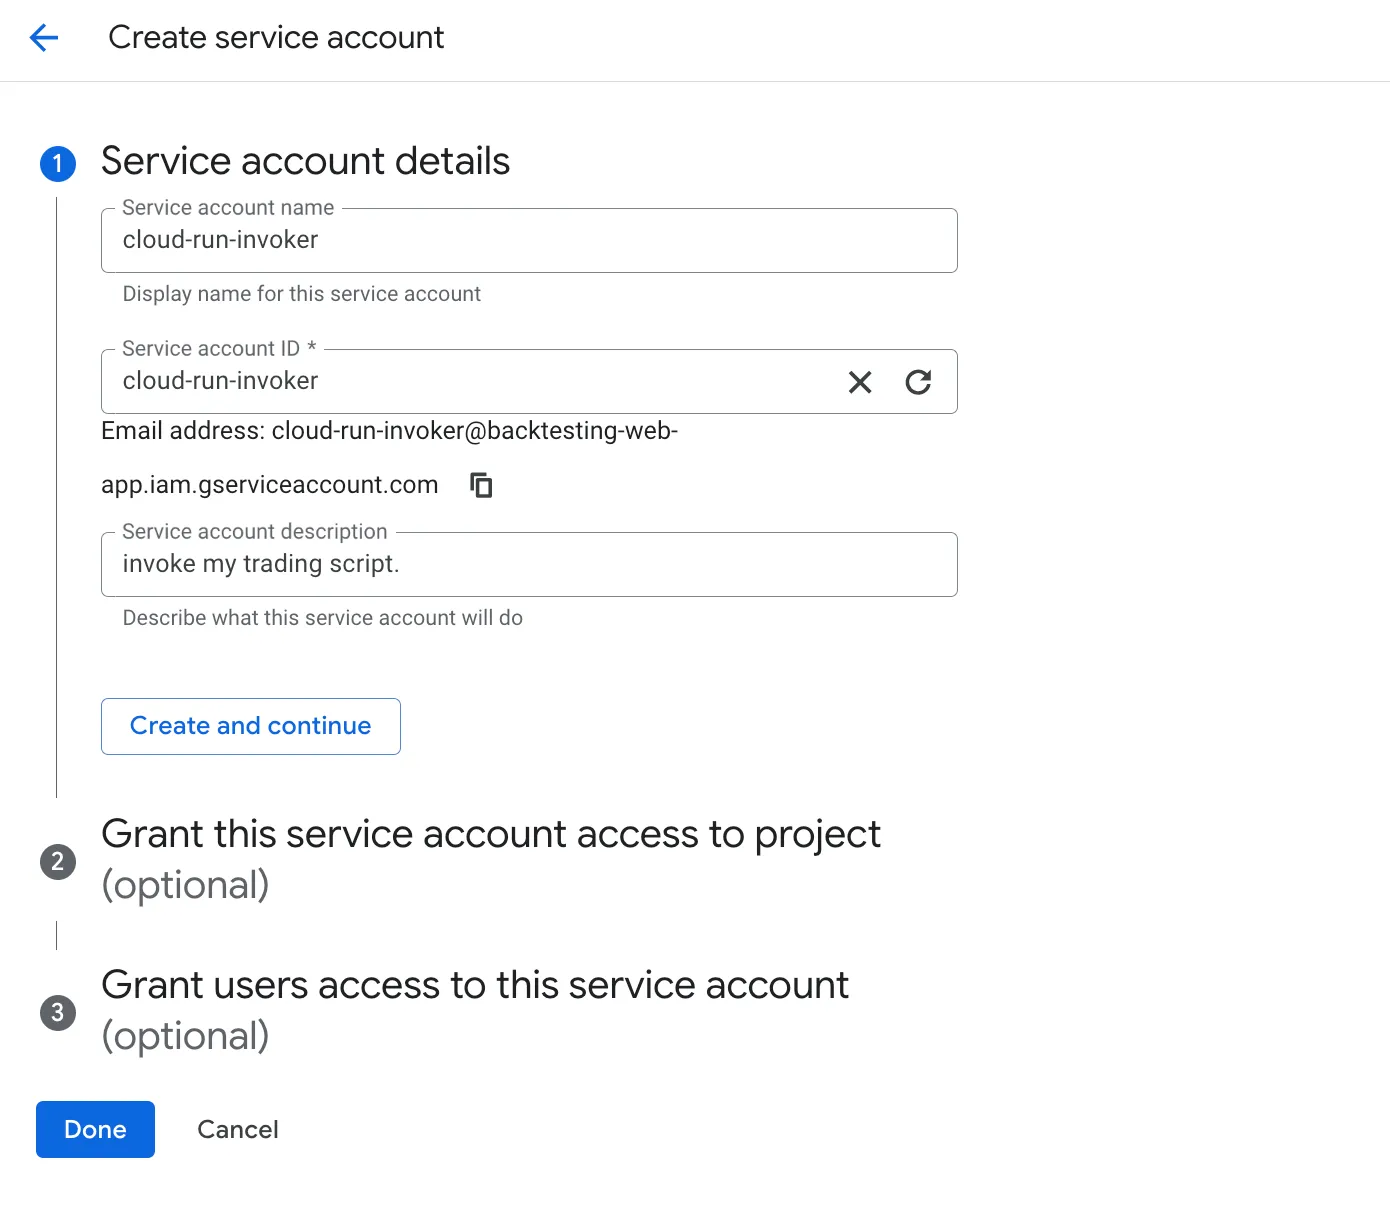
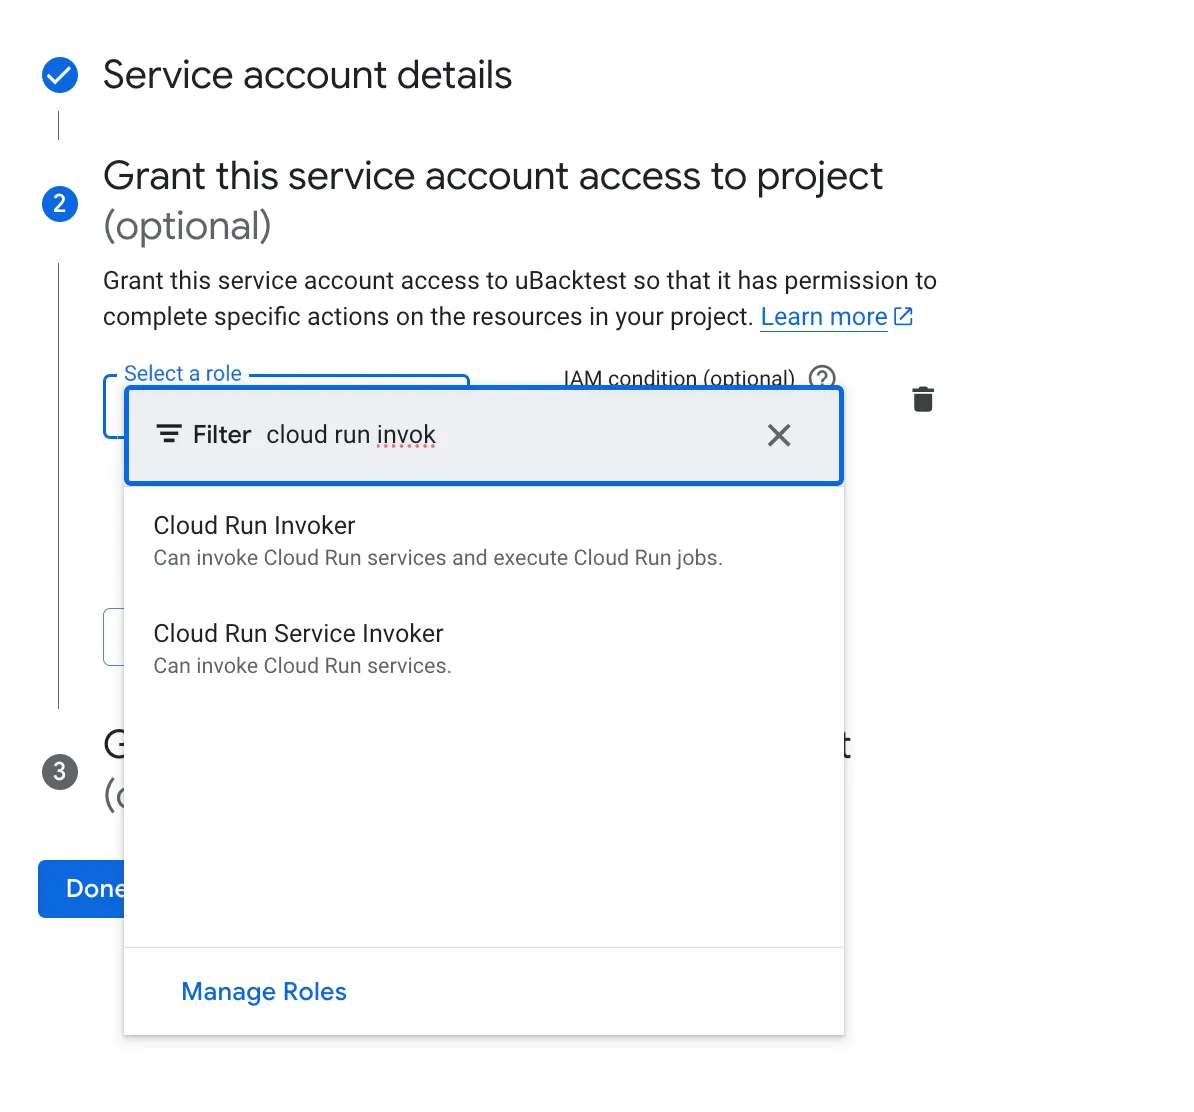
- Assign the Cloud Run Invoker Role
Click Create and Continue. Under “Grant this service account access to project”, add a new role and search for Cloud Run Invoker:
- Finalize Setup
Click through the remaining prompts— no further steps are needed! Your script is now restricted to your account.
8. Set a Scheduler with Cloud Scheduler
To run your strategy on a schedule, use Google Cloud Scheduler.
Steps:
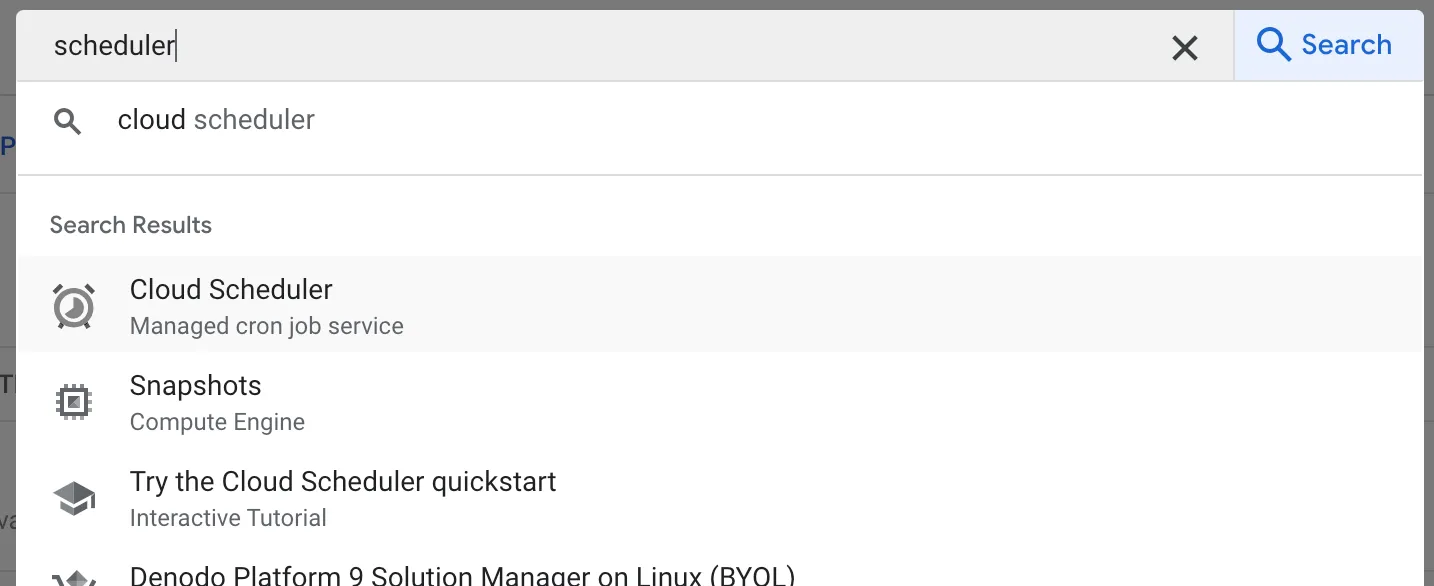
- Search for Cloud Scheduler in the console.
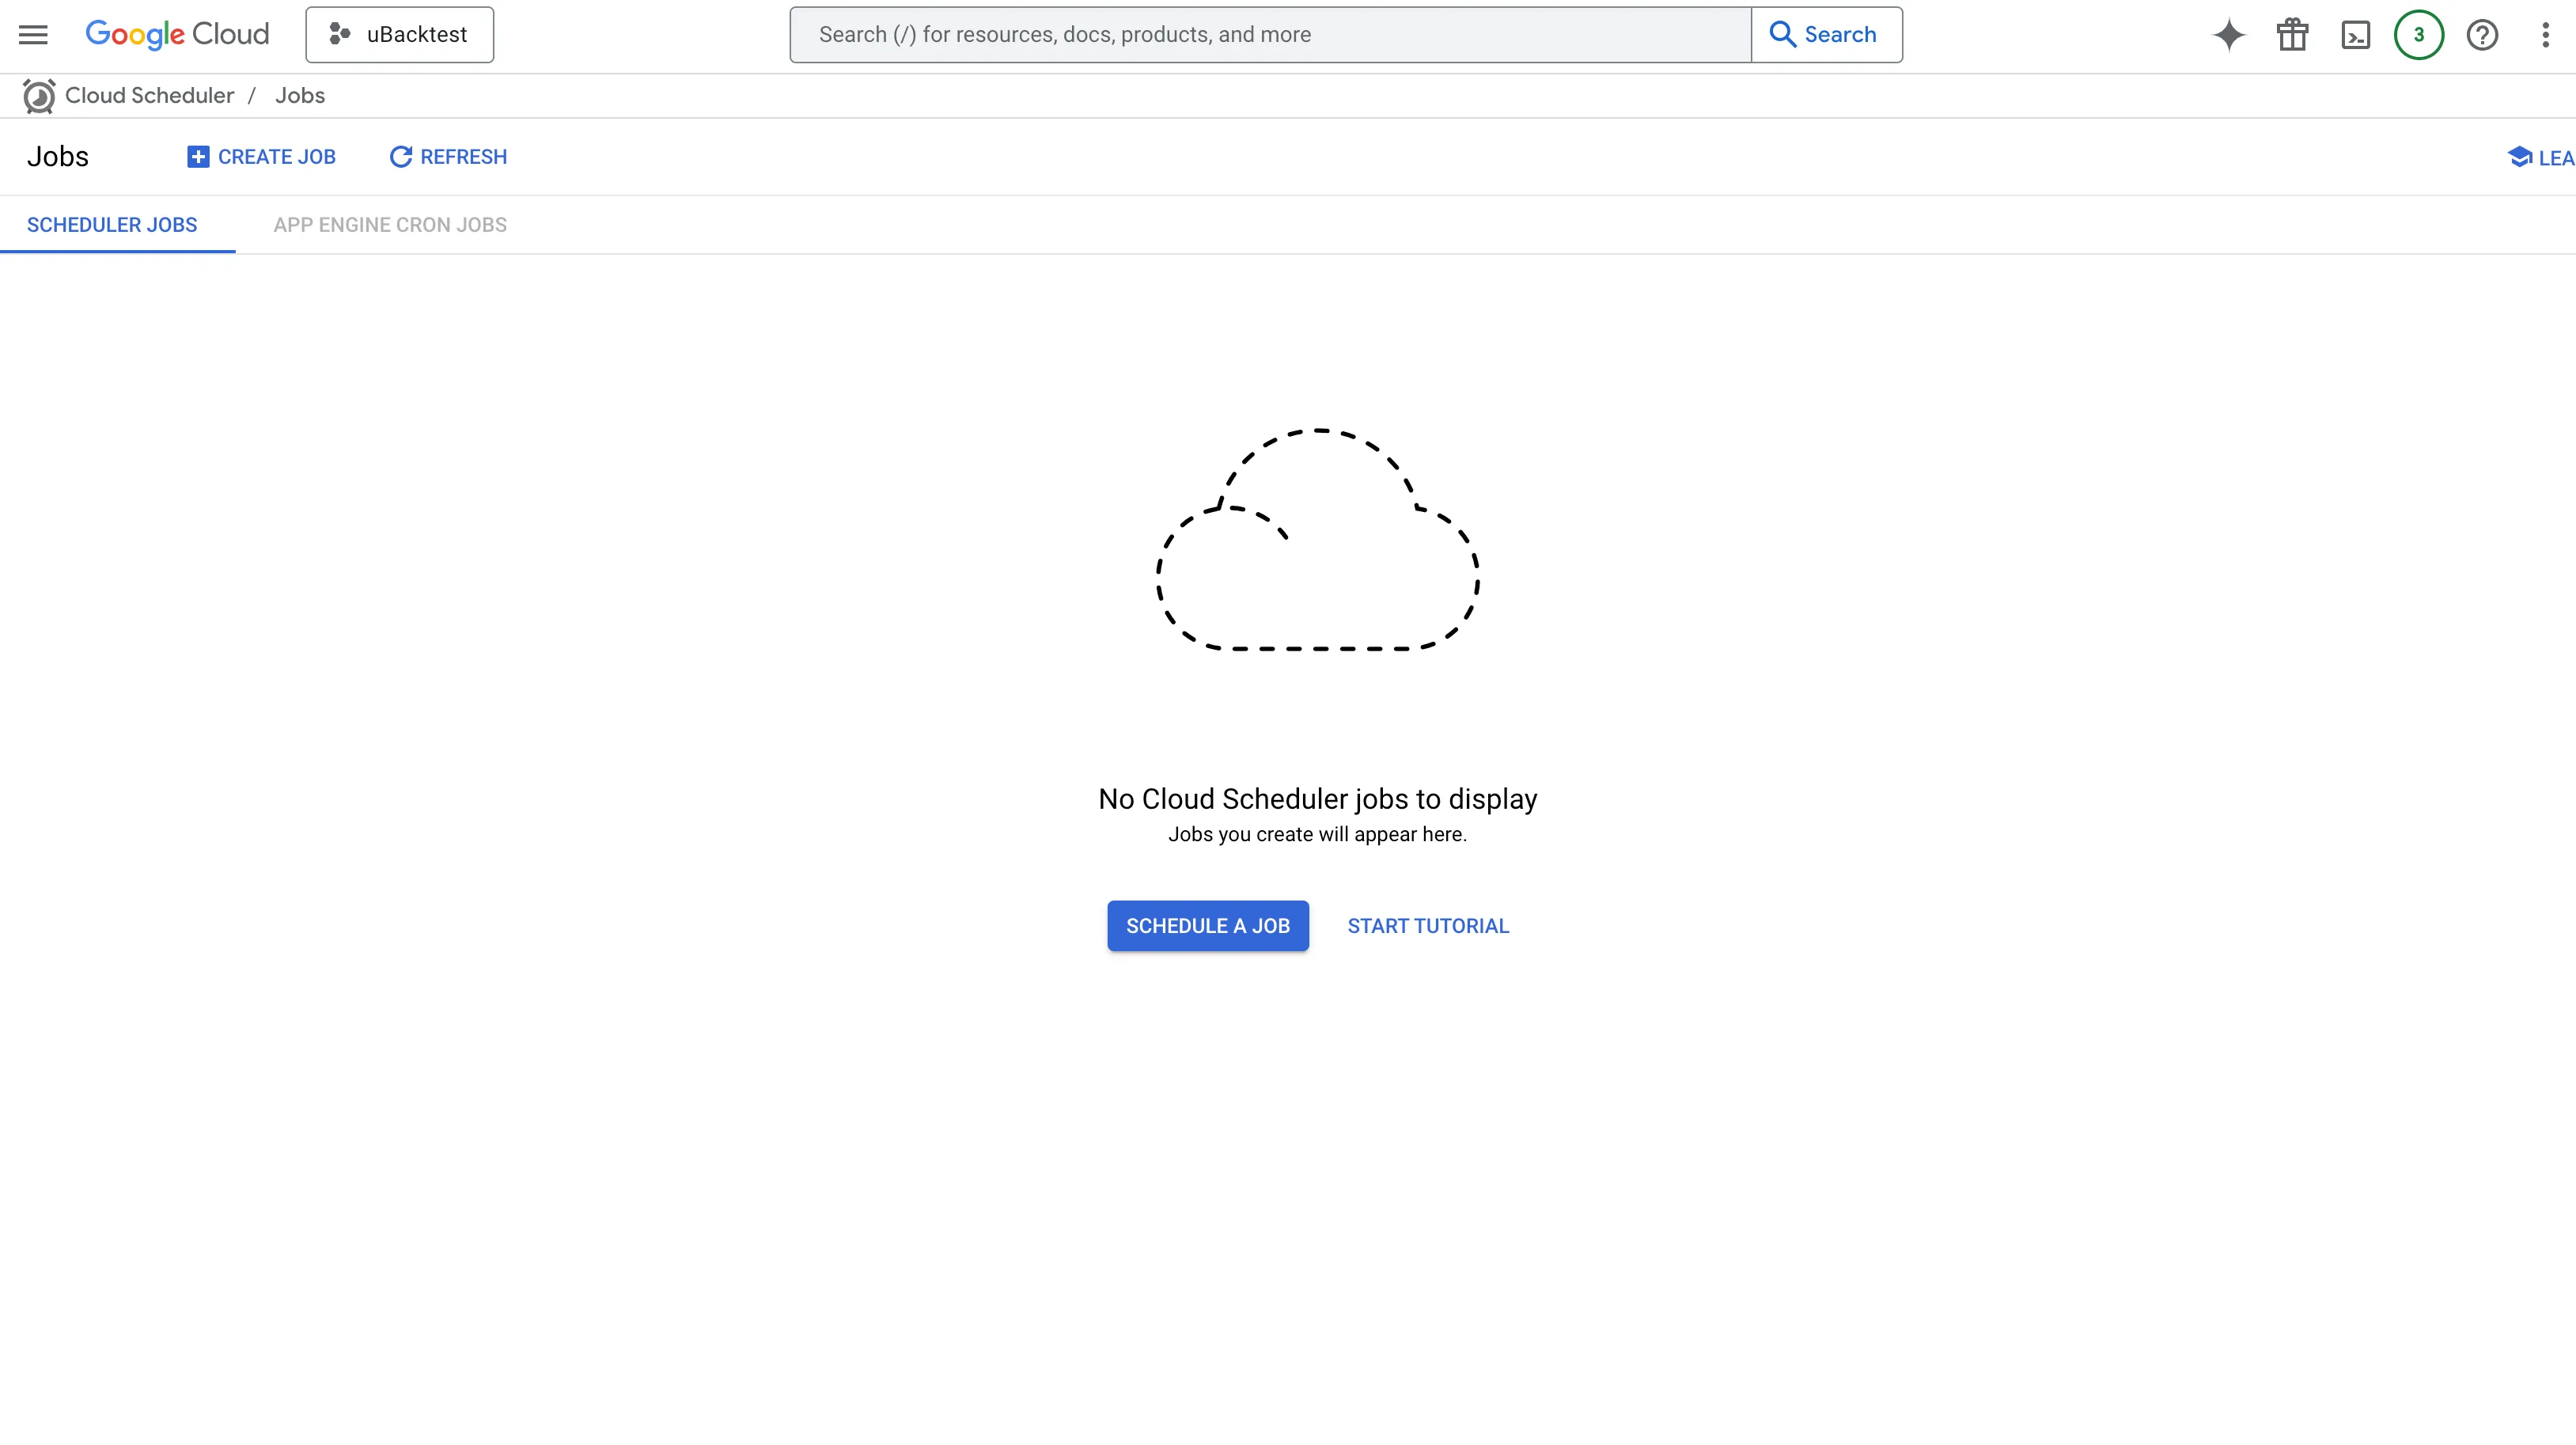
- Click SCHEDULE A JOB:
- Fill in the job details:
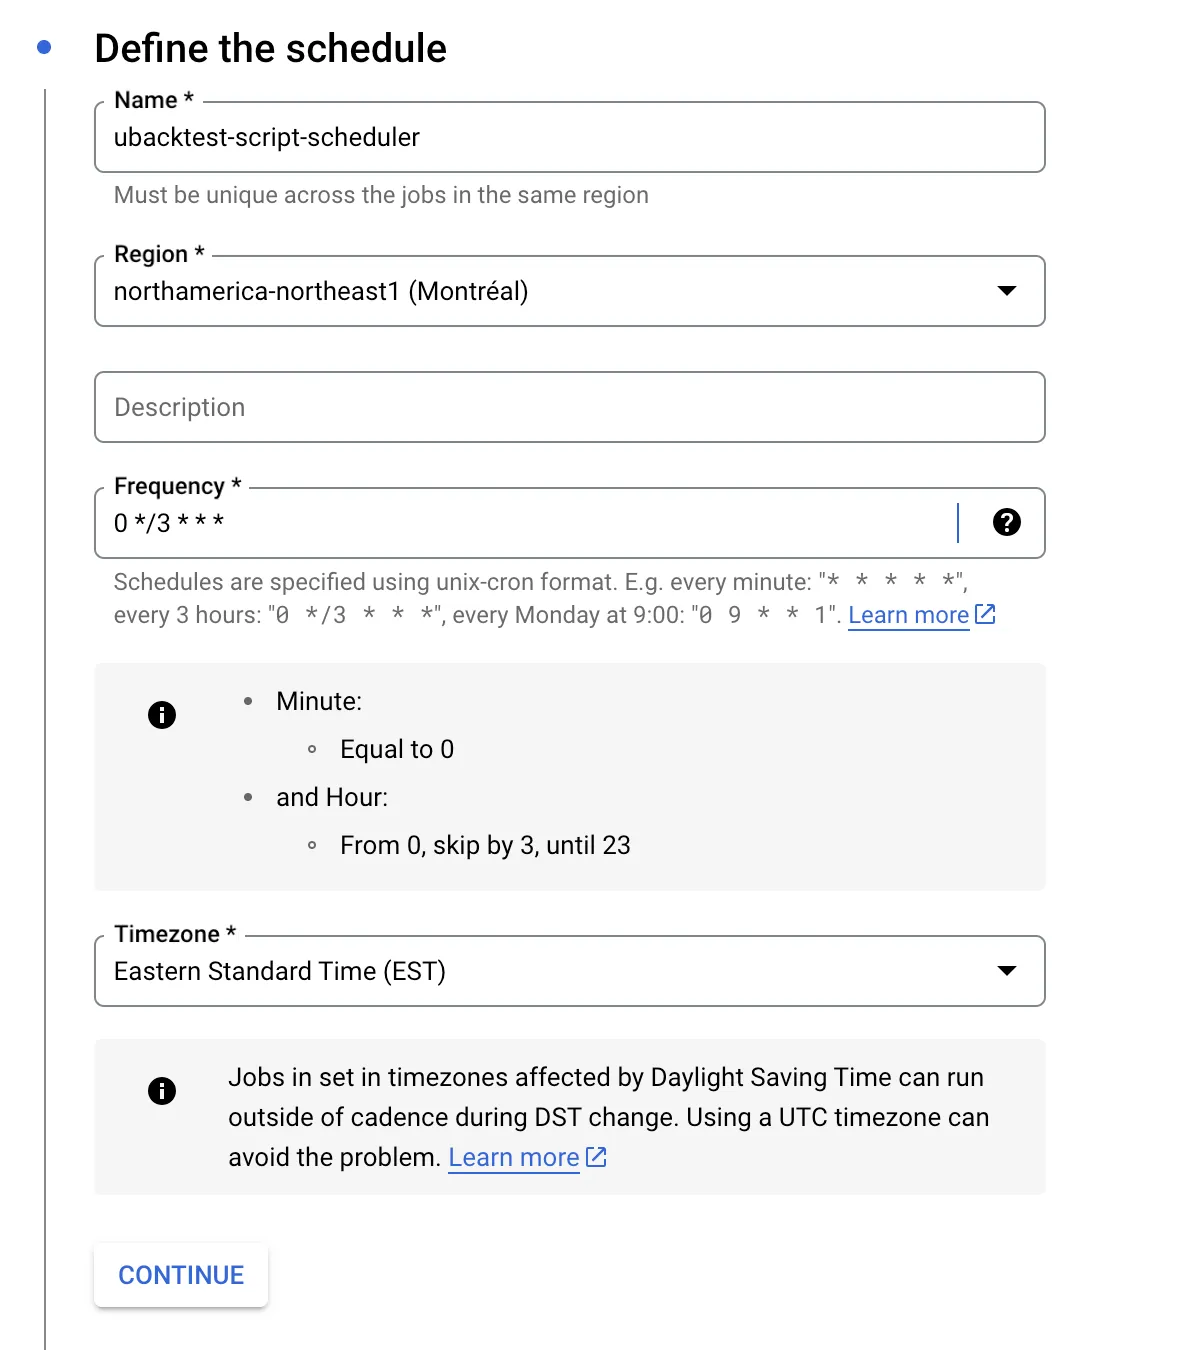
- Name: Choose a name (e.g.,
ubacktest-scheduler). - Frequency: Set the frequency.
This frequency must match that of the frequency you specified when generating code!
- Target: Choose HTTP and enter your function’s URL. Your Cloud Run Function’s URL can be found at the top of its home page:

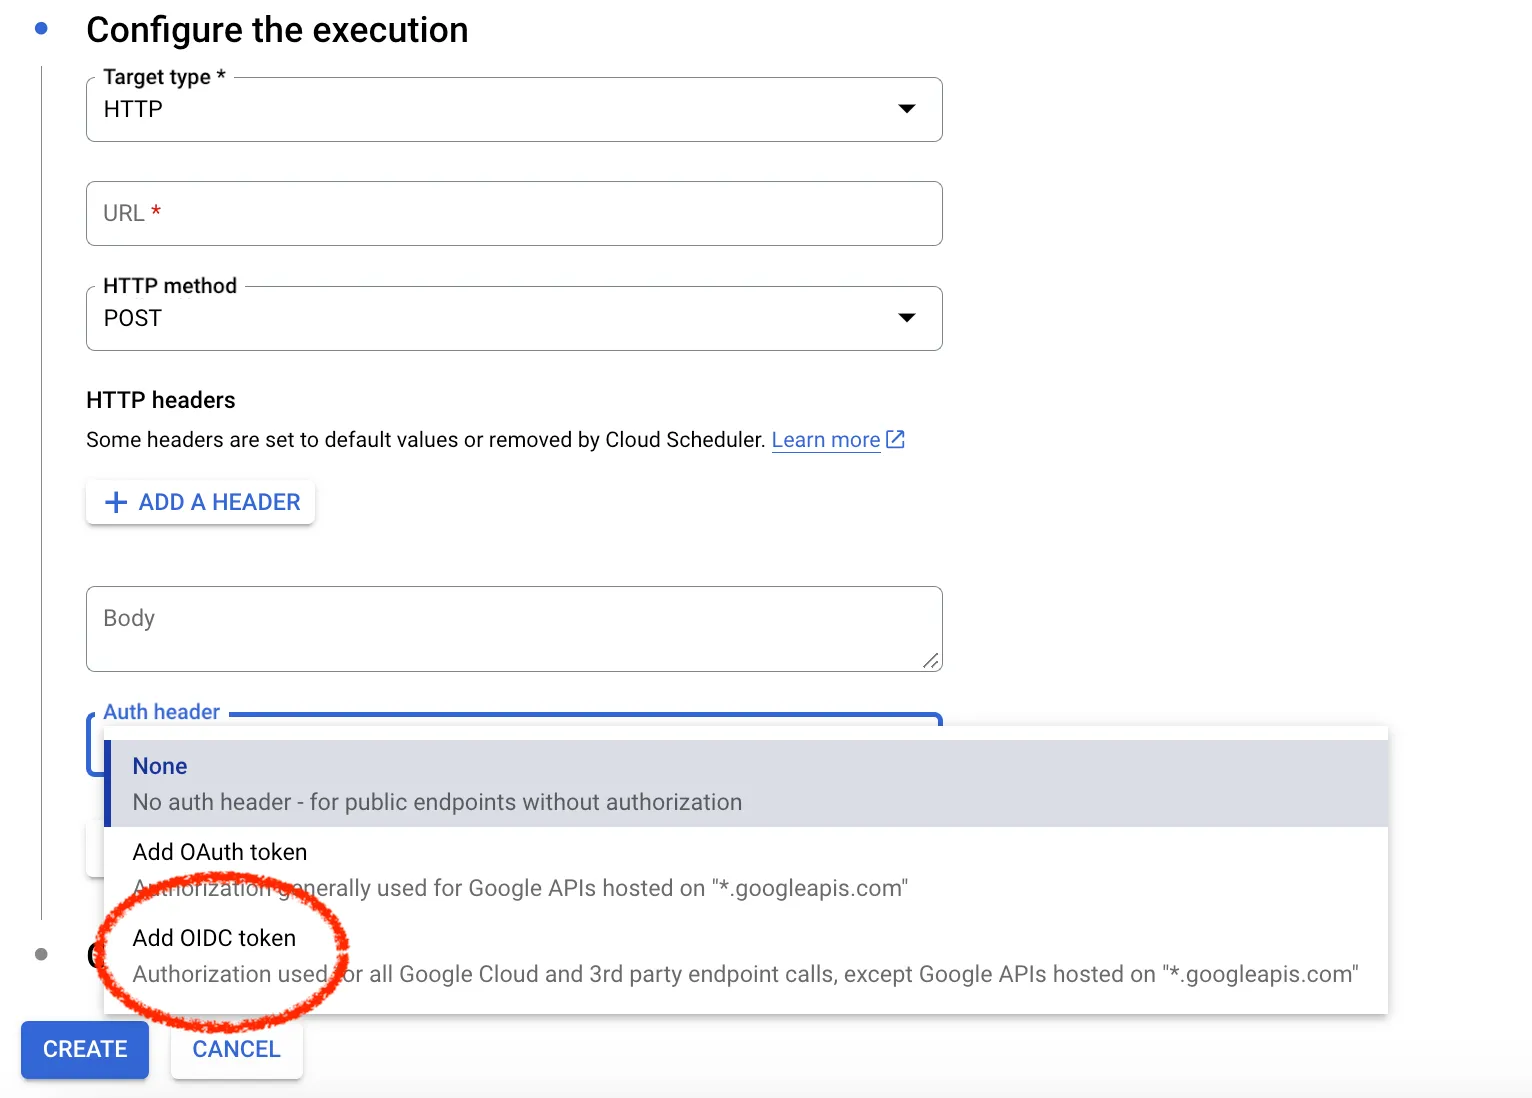
- Set API Permissions:
To ensure your API is accessible only to you— which is highly recommended— configure the authorization settings to make the service private.
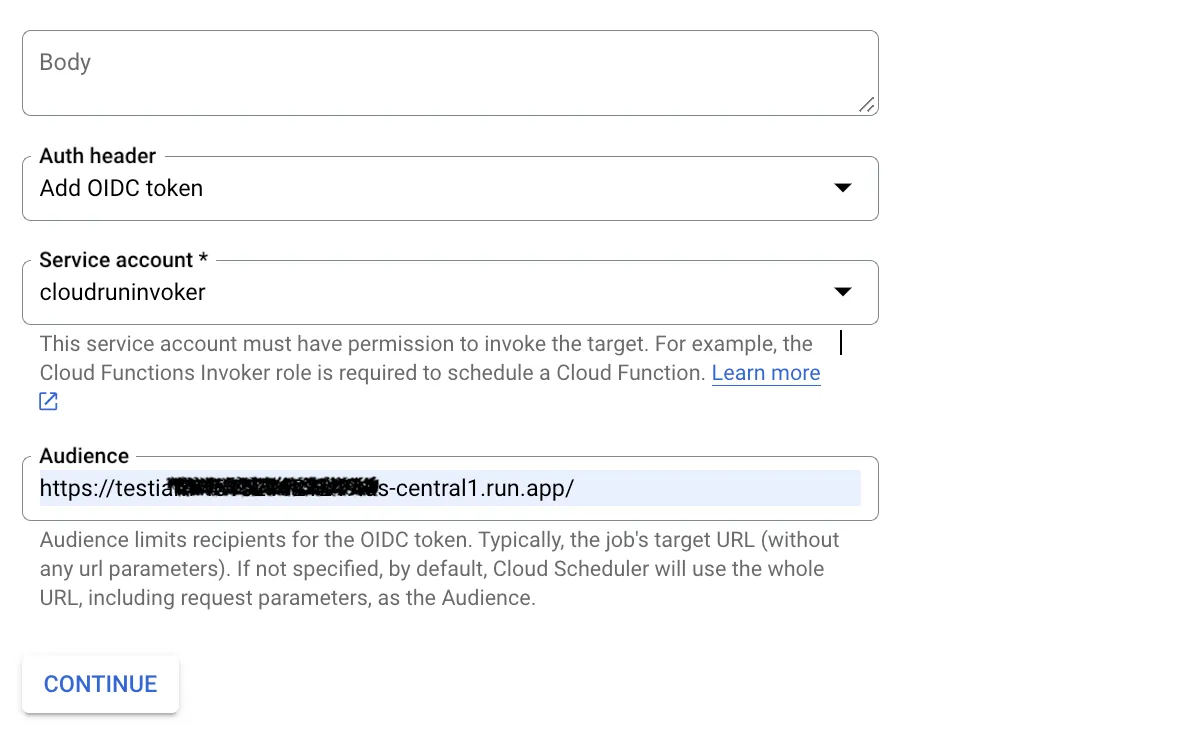
- In the Auth Header section, click “Add OIDC Token”:
- For the first dropdown, select the Cloud Run Invoker service account you created earlier.
- In the second field, enter your function’s URL, which should match the HTTP URL listed above:
- Click Continue, then Create to save the schedule:
That’s it! Your Strategy is Live!
By following these 8 steps, your trading strategy will be live on Alpaca and Google Cloud.
On the next page, we will show you how to and make adjustments as needed to optimize your real-world trading!